
After making countless pairs of jeans over the past decade, I’ve realised that when you hit on a design that fits well and allows you to sit down in comfort, it’s time to slow the horses.

Applying blinkers to all new and exciting patterns is easier said than done; a new jeans pattern will present itself as irresistibly de la mode, be it seventies bell-bottoms, nineties kick flairs or noughties skinnies.
The beautiful truth, however, is that if a pattern is comfortable from waist to crotch, you’ve hit gold: if you get the fit right, any pattern can be hacked into your favourite cut. The world of jeans is now your oyster:
Of course getting to this point is not so straightforward: I’ve sewn jeans with vintage, big four and indie patterns in both rigid and stretch denim. While some were good, most were less so.
So, after a great deal of ogling, I finally gave in and purchased the much-raved-about Ginger Jeans pattern by Closet Core.
Despite the fact skinny jeans have never been my bag (I’ve always plumped for the slightly more forgiving straight leg), I was not disappointed.
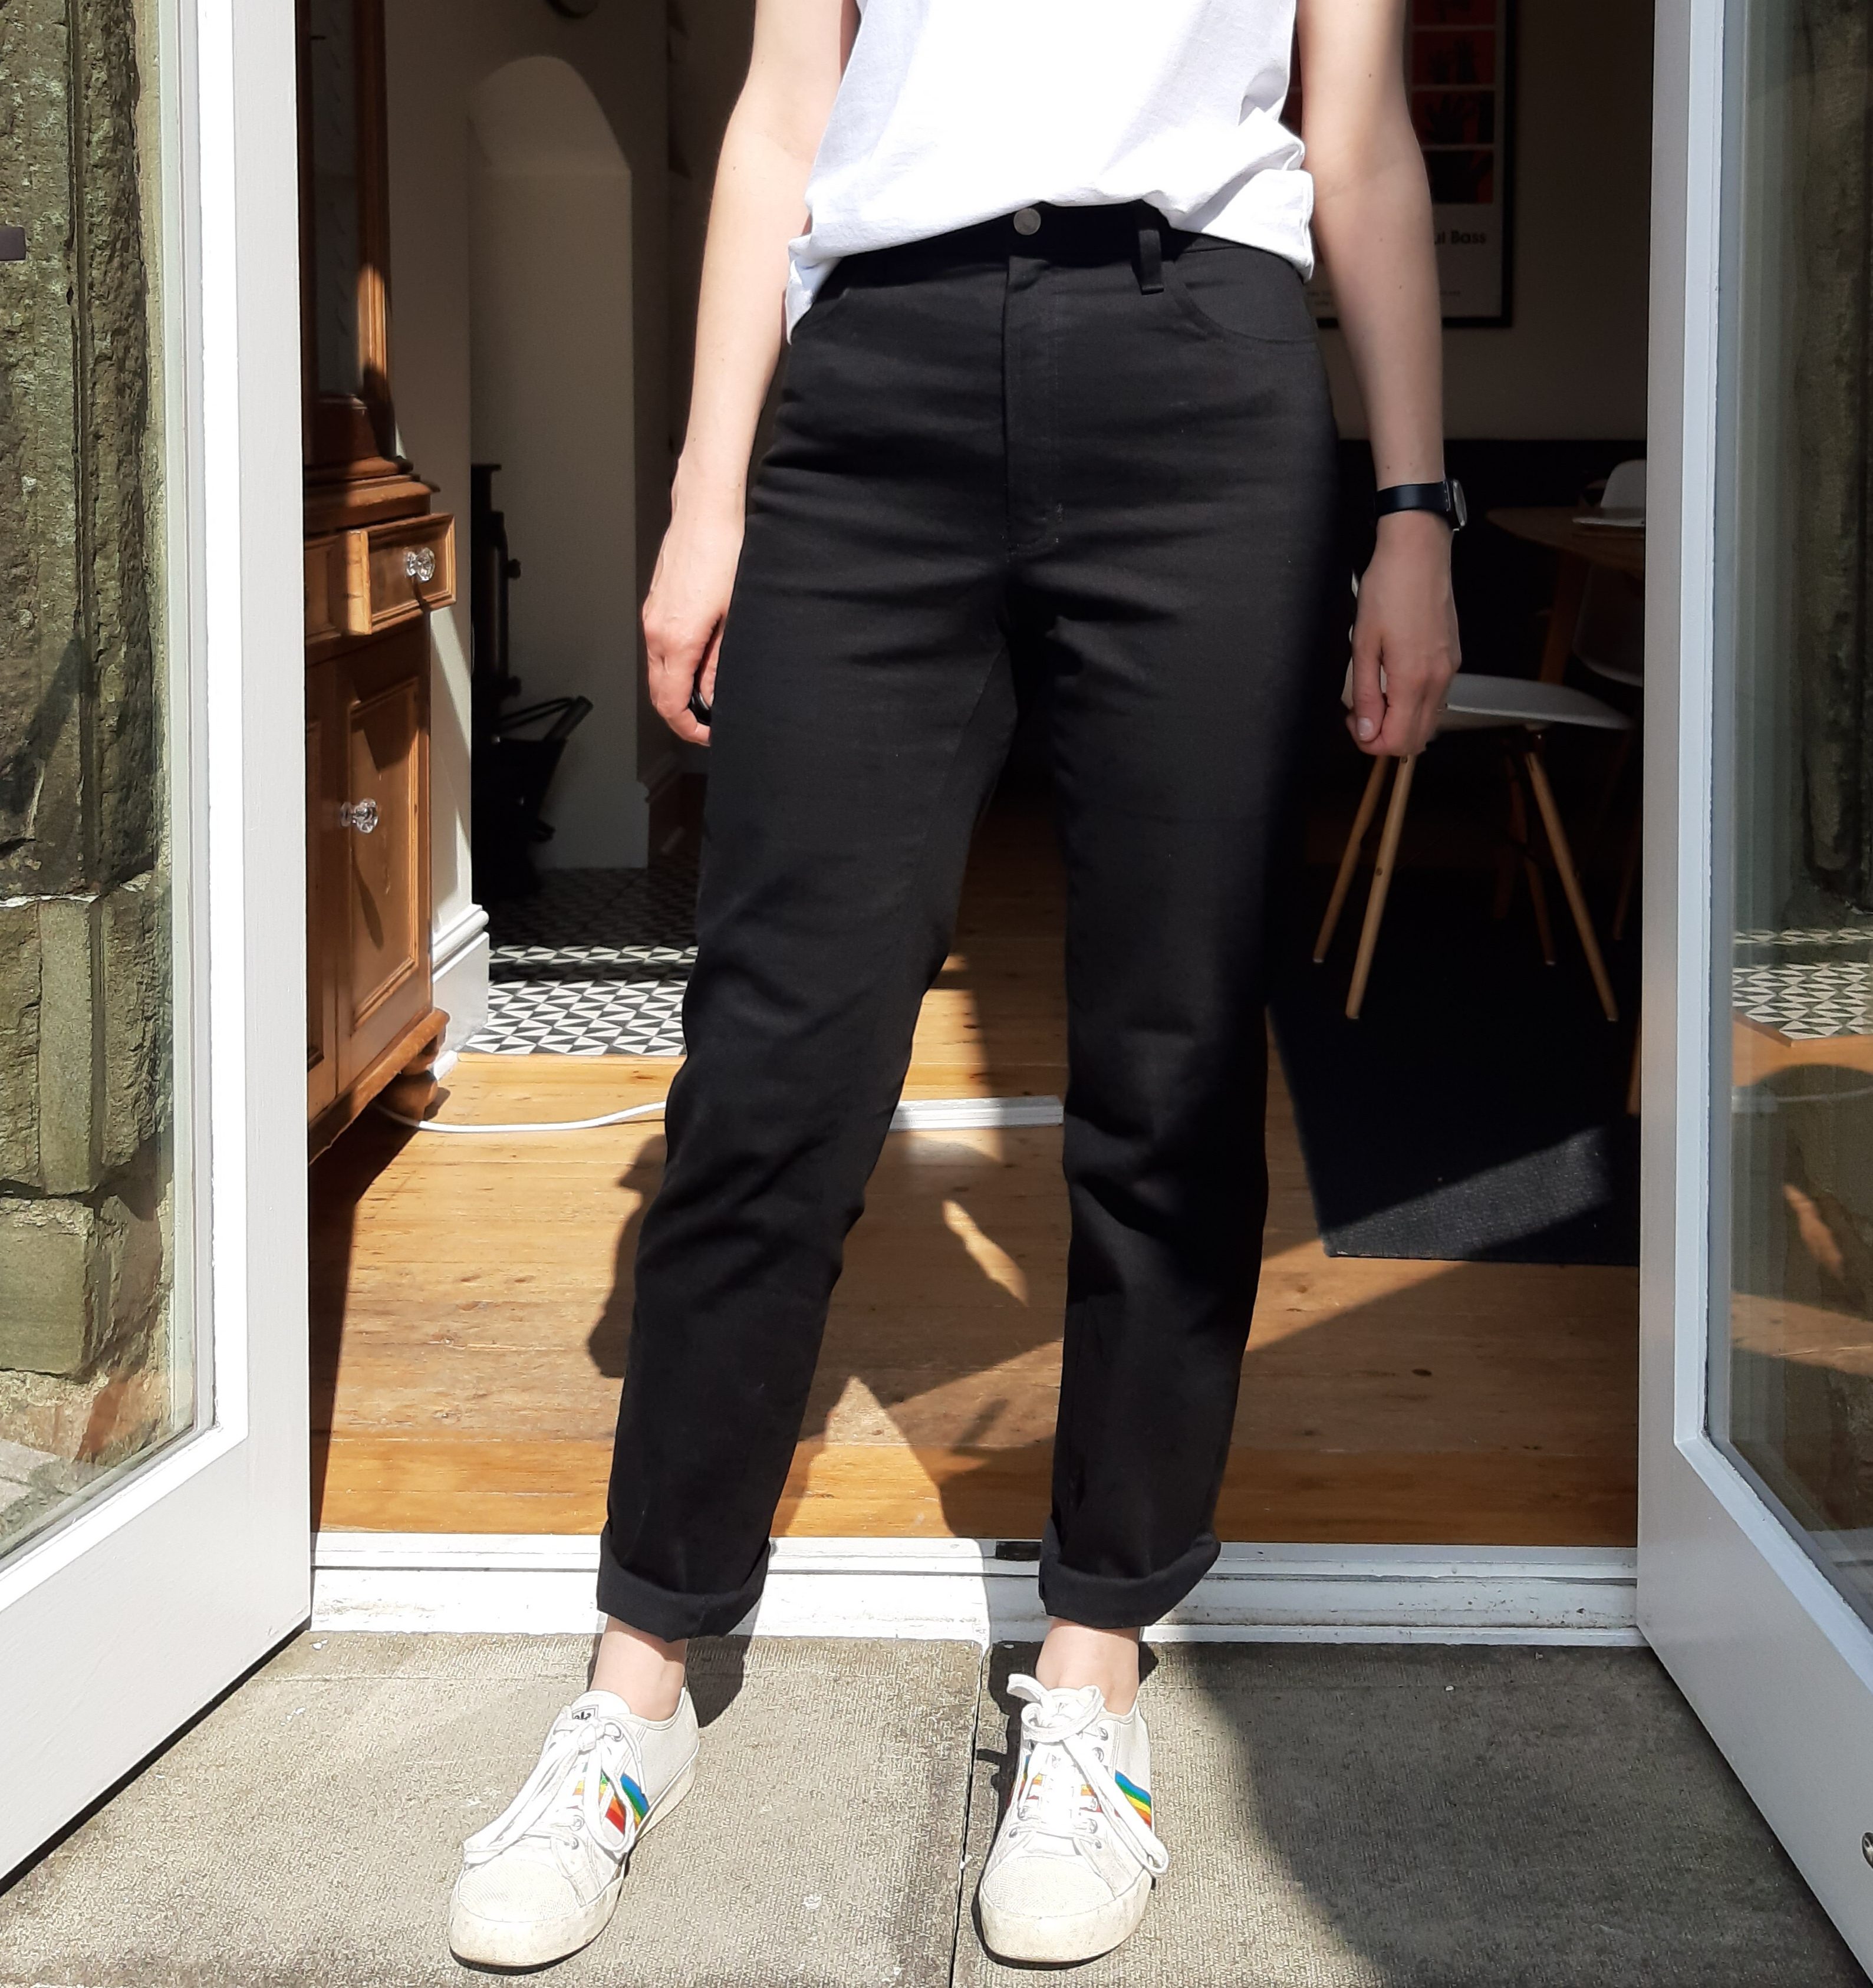
For my first pair (pictured above) I went for a straightforward graft of the drainpipe leg (view A – pictured right) onto the high waisted upper of view B.
They were completely passable in terms of fit. Perhaps a little baggy at the waist but so comfortable I’ve worn them without alterations (and without a break) for the past few years.
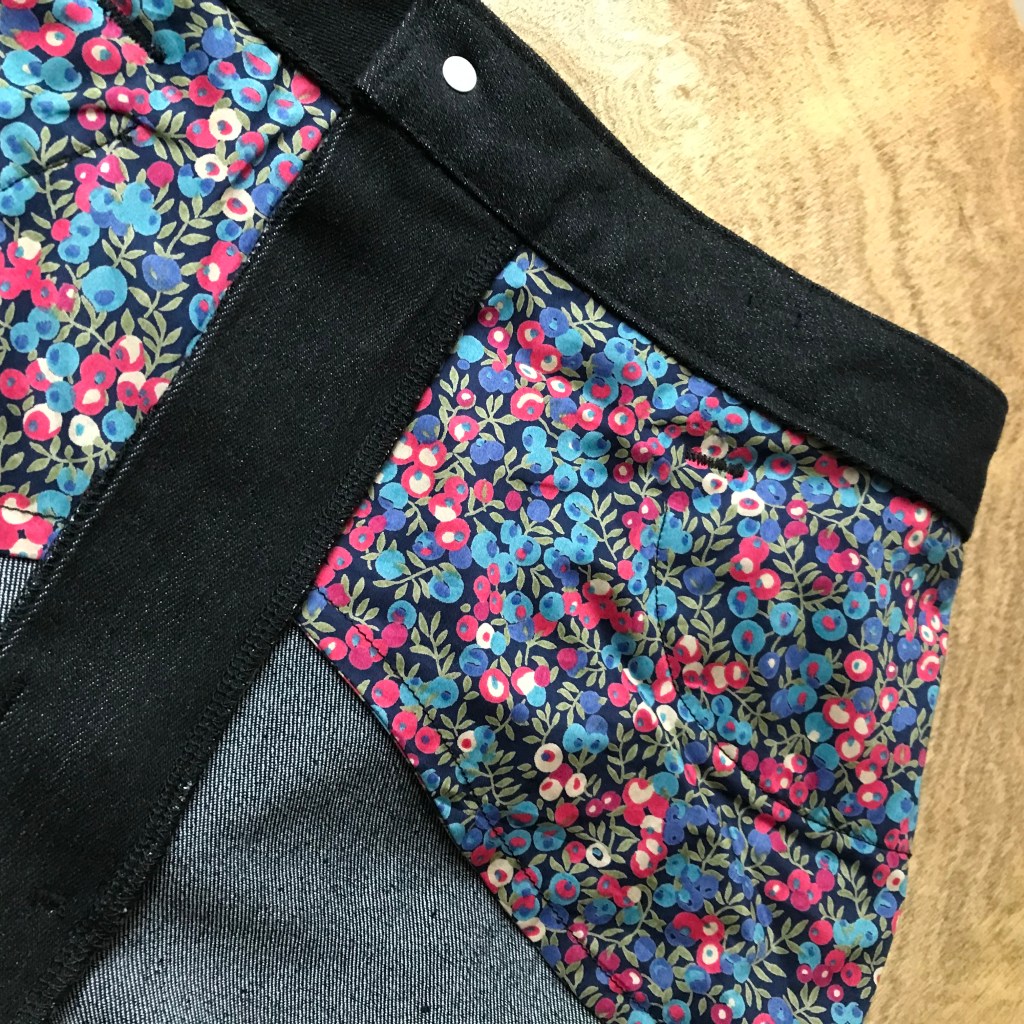
I’m not into the obsession with meticulously toiled and tested denim, but with a few tweaks for subsequent pairs, this has become the pattern I always turn to whenever a nice bit of denim crosses my path. The neat detailing around the pockets means beautiful cotton lawn remnants get a look in too.

Despite most people not giving a hoot about what jean styles are in and out, there’s been an unavoidable trend in recent years to a wider more generous fit: as waistlines have risen, so denim hems have expanded.
So, if you’ve found your dream pattern (and this tutorial will work for any pattern you’ve settled on, not just the Gingers), but you’re not keen on the cut, read on for a simple guide to pattern hacking your way to a wider legged jean-topia.
Wide leg hack

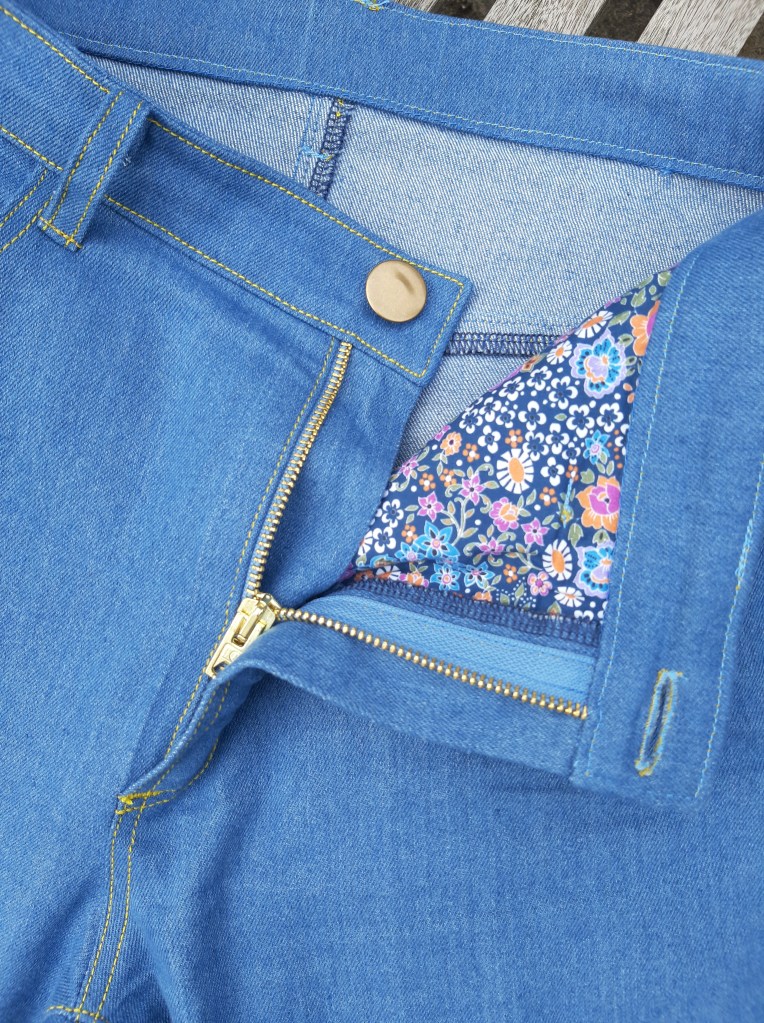
These jeans are great for the warmer months. The fabric choice was key – a fairly lightweight stretch denim from Minerva in what I consider to be the perfect jeans blue. The style and colour give them a gorgeous vintage feel – the beauty of being able to sew is that we can all get a well-fitted pair of 70s-style flairs without leaving the house.
Before we get going, I’m assuming you’ve already made your jeans pattern and you’re confident with the fitting from upper thigh to waist. We won’t touch much of this upper portion of the pattern: we’ll be working with the inside seams from crotch to hem and the outside seam from hip to hem.
To create a lovely wide leg without the kick-flair, I took the easy route and used the Dawn Jeans pattern (by Megan Nielsen). Joining the two patterns is fairly straightforward. Don’t forget if you’re combining Ginger with Dawn you’re melding a stretch pattern with a non-stretch pattern, so need to be conscious of balancing the negative and positive ease. So long as you’re grafting from the widest point, this shouldn’t be an issue.
I started the graft around the hip notch, below the pockets, which for me is my widest point. From here the Dawn leg has a loose fit over the thigh. If your thighs are wider than your hips you will need to adjust accordingly.
Firstly, trace your favourite-fit jeans pattern’s front and back legs. It helps initially to trace the whole thing as this allows you to position the pattern you want to graft underneath and trace with confidence. At the very least, you want to trace off your favourite-fit pattern to the crotch and then also include the grainline which runs down the leg.
Once the pattern you want to graft is underneath your new tracing, position the inside leg so that the crotches are aligned. The grainline on each pattern will be positioned differently (they won’t automatically line up unless you are very lucky), so you need to ensure they are aligned and run parallel to each other by the same amount all the way down.
Weight your paper so it doesn’t shift while you’re working and trace the new leg. If, like me, you’re using the Gingers for the upper portion, you’ll find that the leg of the Dawns doesn’t quite line up perfectly at the hip. Using a hip ruler, French curve or pattern master, true the lines so they meet and gently taper out into the rest of the leg from the widest point.
By lining up the grain line and tapering the two patterns together seamlessly, you’ve created a whole new jeans pattern – one in which you can be confident of the fit. You can read more about making this pair of jeans here.
Fabric: Minerva Core Range 300gsm Stretch Washed Denim Fabric in Jeans Blue, £17.99 per metre, Minerva.com.
Straight leg hack

For a straight leg, you could either graft the leg from a favourite pair of trousers using the method outlined above or draft straight onto the denim with chalk by laying the narrower legged pattern piece onto the fabric and then measuring out the new outline. I prefer to create a new pattern on fresh paper so I have something concrete to return to later.
To create the relaxed fit straight leg pictured above, I first decided on the hem width. Taking the Gingers Jeans drainpipe leg, I drafted a new pattern piece in the same way as above: tracing the drainpipe leg in its entirety.
Generally, when adding to the hem width, you will add more to the outside hem than to the inside. I added about 1.5cm on the outside leg seam and 1cm on the inside leg at the hem. It doesn’t sound like a great deal, but it’s enough to make a drainpipe leg look much more casual and relaxed. Taking a long ruler, taper this extension into the original leg above the knee.
The shorter and more pronounced the taper from hem to original leg outline, the more likely you are to end up with a kick flair rather than a straight leg.
Once you’ve created your pattern pieces it’s time to cut out as usual and get sewing. The redraft shouldn’t affect any other pattern pieces.
To be sure you’re happy with the new fit, baste the inside and outside legs together then baste the waistband to the upper edge (to prevent stretching) and do a quick fitting before completing top stitching. Once you’ve made any necessary alterations (you may well find you don’t need any, given that the upper portion of the jeans has already been tried and tested) you can head happily to the finishing line. You can read more about this make here.
I’m very happy with my variously legged pairs of Ginger Jeans and, at this stage, see no reason why I would go for a different jeans pattern. The fun to be had with the leg shape and hemline will, I have no doubt, have me returning to make more as the years roll by.
The effort that goes into the trial and error of finding a pair of jeans that works for you can be as tricky in sewing as it is in the shops. The difference, however, is that when we finally strike gold, it’s ours forever and no fickle fashion department can take that particular cut off the shelves.
Please note some links in this article use affiliate marketing. This means if you click on the link and proceed to purchase, Grinlow Studio will receive a small commission. There is no hidden cost to the consumer for using this link, but the small rewards in composite help keep the website going – thank you for your support!

One thought on “Closet Core Ginger Jeans: wide leg hack”