
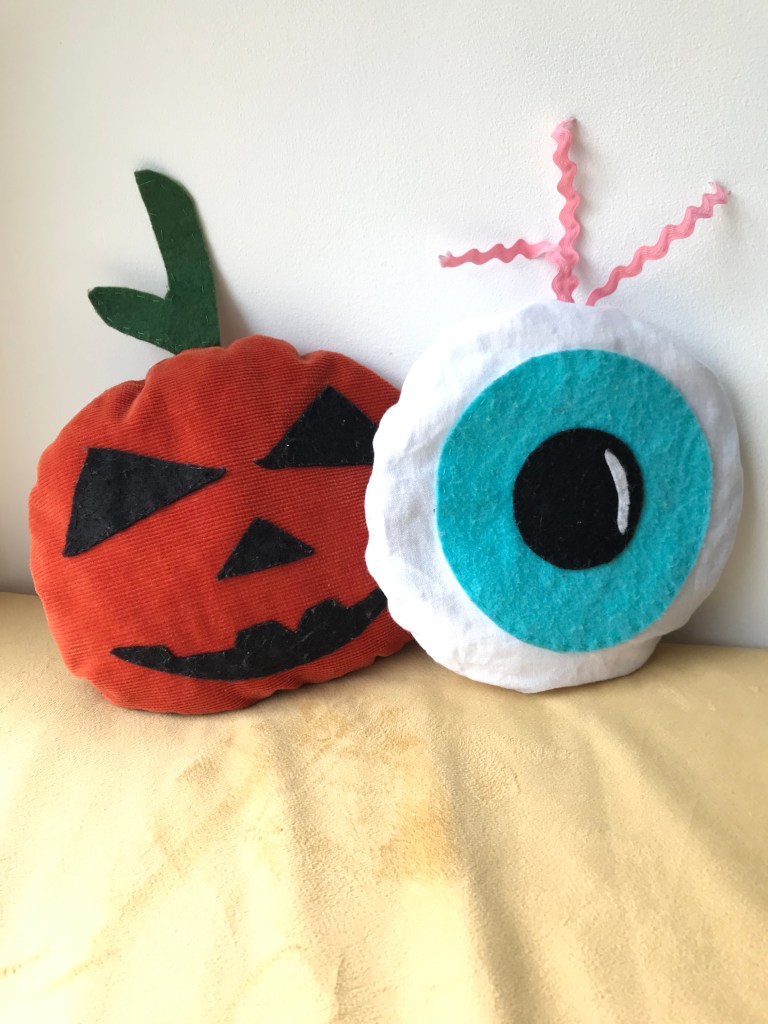
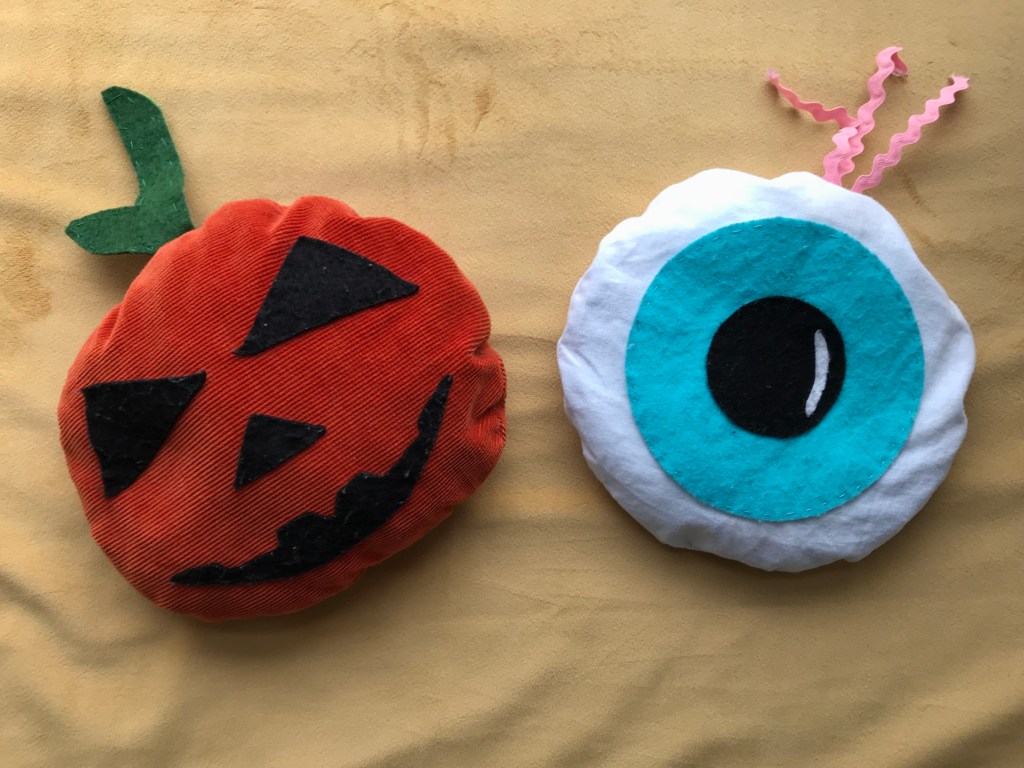
Last year my son and I made these spooky cushions for halloween. We had a lot of fun putting them together and thought it would be fun to share the designs so you can make them too.
Perfect for creepy decor, halloween treats or (strung from a bit of elastic) costume accessories, these easy-to-sew cushions make a great learner project for kids and are guaranteed to bring a smile on the scariest night of the year!
Materials
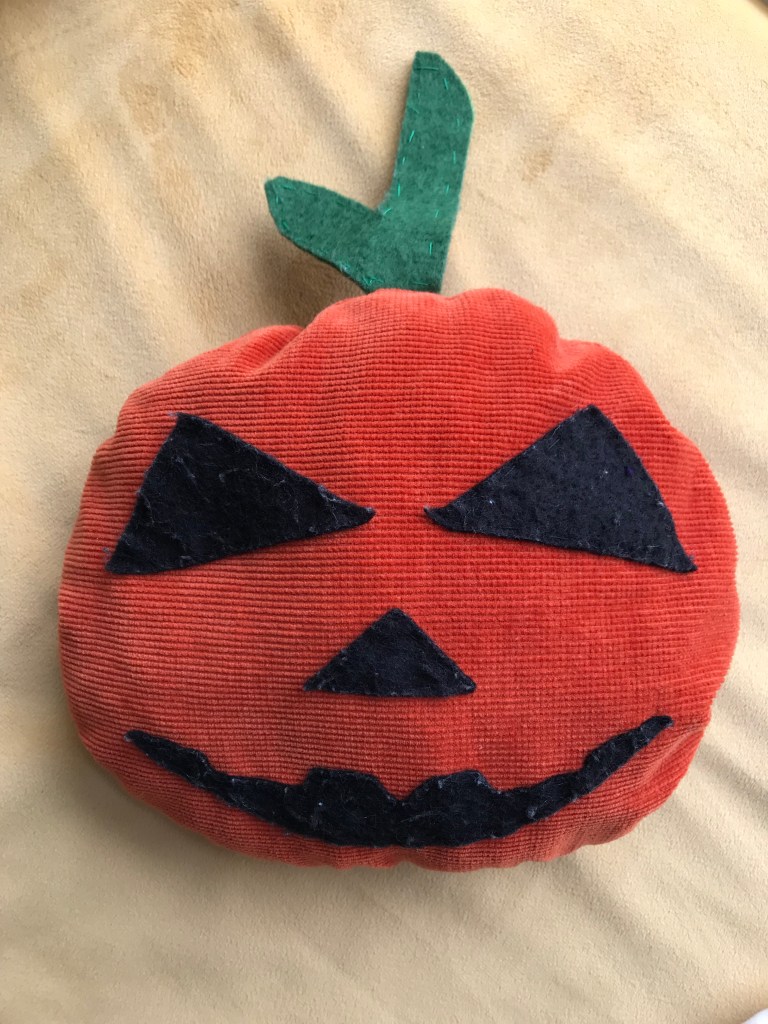
Pumpkin
25cm orange fabric – corduroy, velvet, felt
15cm black felt
15cm green felt
Stuffing
Coordinating embroidery thread
Eyeball
25cm white fabric – cotton, felt, velvet
10cm black felt
15cm blue felt
30cm pink or red ribbon or ric rac
Coordinating embroidery thread
Tools
Embroidery needle
Ordinary needle and thread
Fabric marking tools eg. chalk
Scissors/rotary cutter
Fabric glue (optional)
Small plate, saucer, egg cup or similar measuring roughly 20cm, 10cm and 5cm diameter respectively
Notes
Seam allowances are 1cm unless stated otherwise
How to make
1. Prepare cushion front and back in main fabric. For the eyeball, draw around the 20cm side plate and cut out. For the pumpkin, draw roughly around the plate and then gently flatten the curve on the bottom and sides for a squat pumpkin-like shape. Cut out two of each. Decide which side will be the front and put the other to one side.
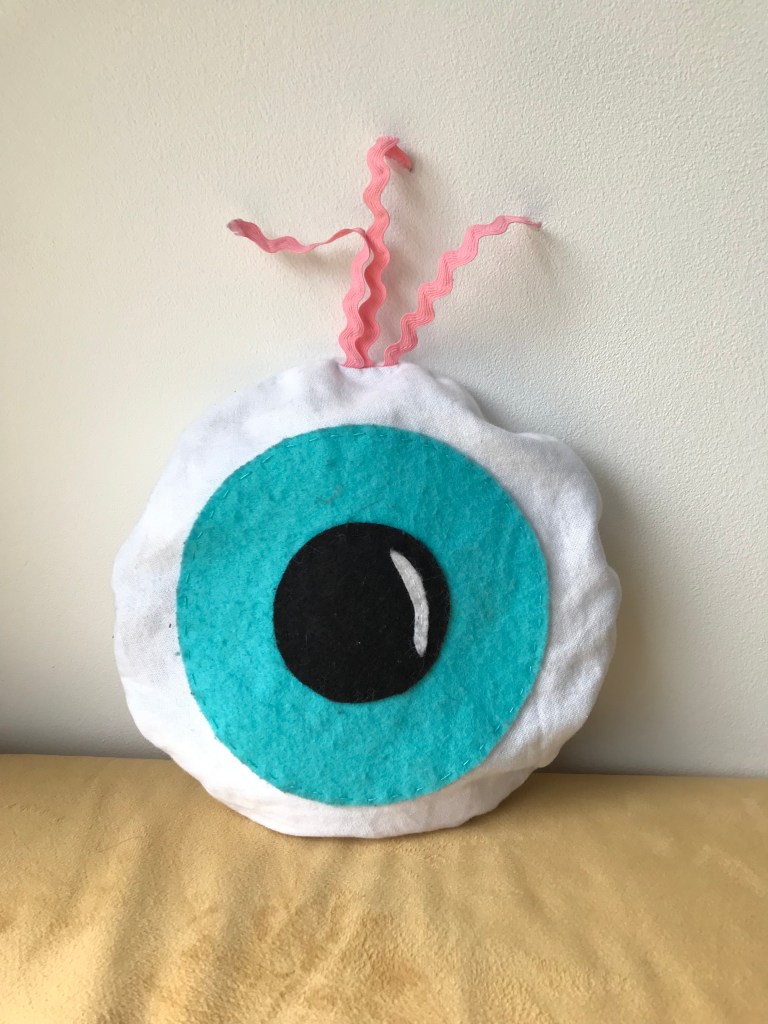
2. For the eyeball, make the iris in blue felt by drawing around the smaller plate (10cm diameter). Cut out. Do the same for the pupil in black felt using the egg cup (5cm diameter). In white felt, cut a small curved shard to create the reflected light in the pupil.

3. For the pumpkin, cut out two larger triangles in black felt for the eyes, and one smaller triangle for the nose. Create a spooky toothy smile about 15cm wide and cut out in black felt. Draw the stalk and add 1cm for seam allowance (which will be hidden inside the cushion).
4. Position the pieces on the right side of the front. At this stage, you can dab a little bit of fabric glue on the back of the felt pieces to ensure they stay put.
5. Stitch the appliqués down using either a sewing machine or (preferably) embroidery thread. The more rustic the stitching, the better!
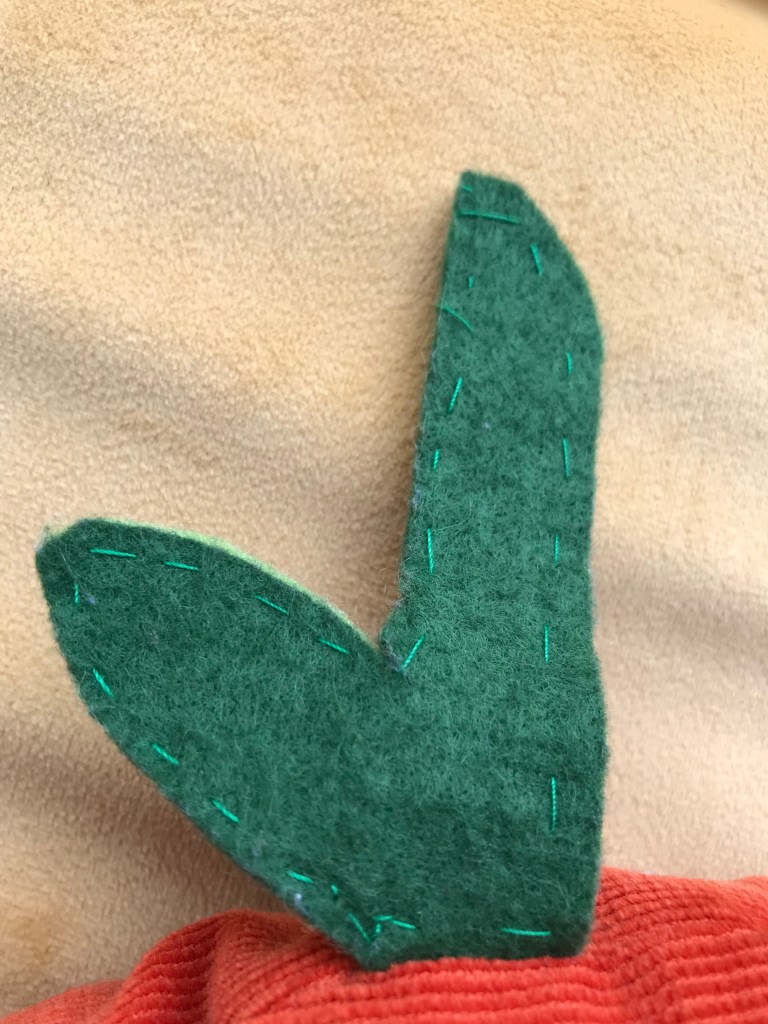
6. Cut out two pumpkin stalks and stitch together around the edges with embroidery thread. Line the bottom of the stalk up with the centre top of the cushion front. Baste in place within seam allowance. Cut out three strands of ric rac – one 10cm and two 9cms and baste onto the eyeball cushion in the same way. If hanging from elastic, add a length of elastic in the same way as the stalk/entrails at this stage.
7. Place the other side of the pumpkin/eyeball body on top, RST, so that the stalk/entrails/elastic are trapped between the two layers.
8. Stitch around the perimeter of each cushion, leaving a small two inch turning gap at the bottom. Backstitch at the start and end of stitching to secure. Notch seam allowances.

9. Turn cushions right side out and push out seams. Tug stalk/ric rac so it sticks out neatly at the top. Gently push stuffing through turning gap. Use a pencil or knitting needle to push the stuffing into all the curves and distribute evenly throughout.
10. Slip stitch gap closed to finish.
I hope you enjoyed making these halloween cushions as much as we did. We'd love to see what you make so get in touch via the contact form or in the comments below. Happy halloween!
