

When the temperatures drop, those of us who work with our hands – for me that’s usually typing or sewing – can sometimes find the chill makes getting on with stuff a challenge. If this sounds familiar, why not stashbust your jersey scraps with a pair of Grinlow Studio foldover mittens? You can make them with any vaguely stretch fabric, but they work particularly well in jersey, sweatshirting and fleece. For the version featured here (first published in issue 113 of Love Sewing magazine) we used cotton jersey from a selection at Sewsewsew.co.uk.
Please subscribe to the site if you choose to download the pattern (subscribers get first dibs on free patterns and the warm fuzzy feeling of supporting Grinlow Studio) and share your makes with me on Instagram @grinlowstudio (use the hashtag #grinlowstudiomittens). You can also give feedback in the comments section below or using the contact form here – I can’t wait to hear about what you make!
Download the pattern
Top tip
Use the guides on the pattern pieces to lengthen or widen for the perfect fit.
Materials and Tools
0.3m of cotton jersey with at least 30% stretch
2 x decorative buttons, c. 1cm diameter
Coordinating thread
Cutting
For each glove cut:
Main body: 2 pairs (4 pieces)
Foldover: 2 pairs (4 pieces)
Notes
Use 3/8” (1cm) seam allowance (included) unless otherwise stated
A 5/8” (1.5cm) seam allowance is included for hems
How to make
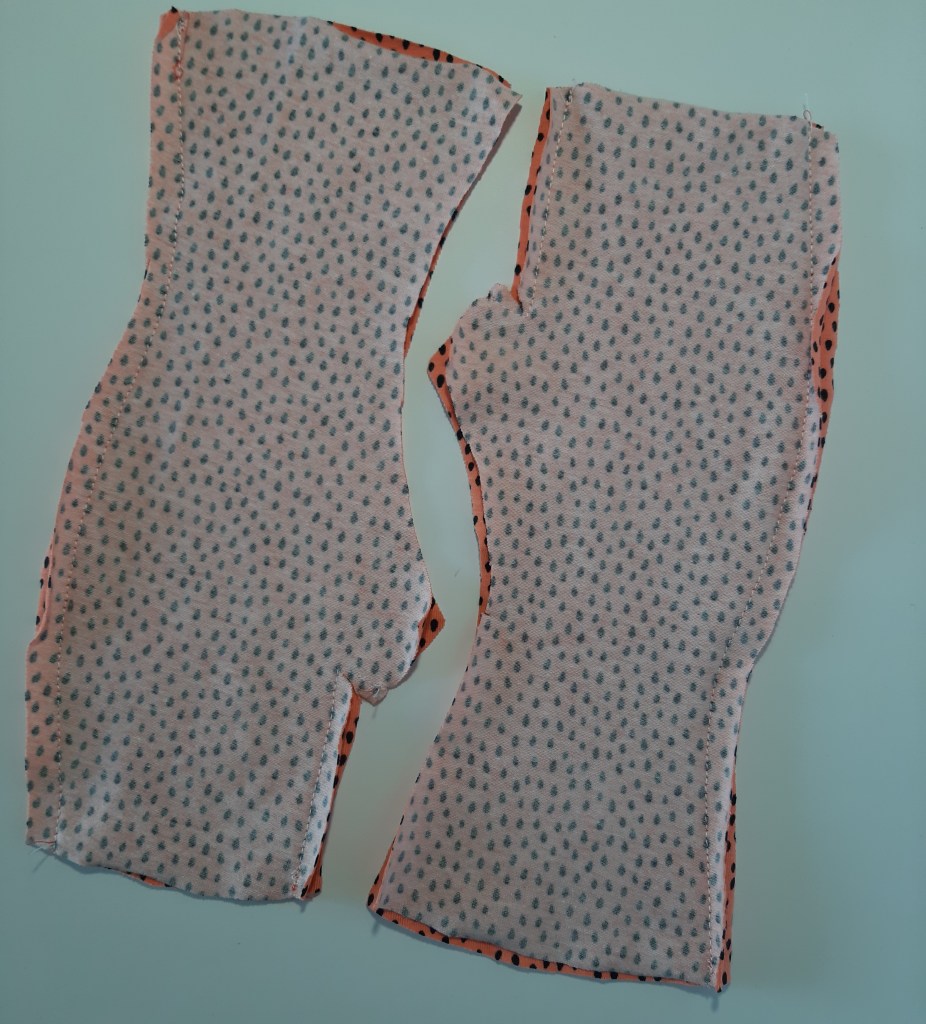
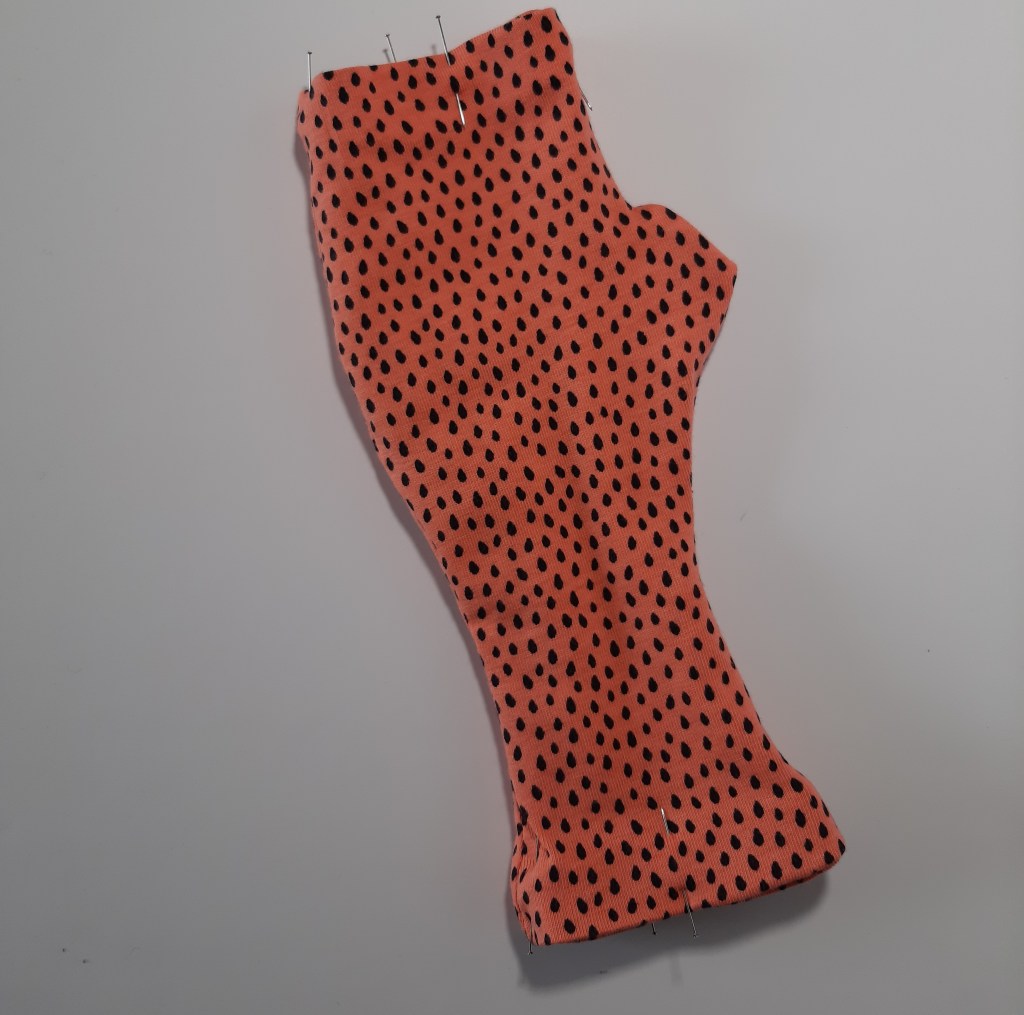
1. RST, sew lining and outer together along the long side from finger opening to wrist opening and on the other side from finger opening to thumb opening, pivoting at large dot. Backstitch to finish. Clip corners.
2. RST, matching edges and seams, sew lining and outer together across thumb opening with a 2/8” seam allowance.

3. RST, bring together the unsewn sides of the glove, matching the thumbhole seam, and stitch in one continuous line from wrist opening to wrist opening.
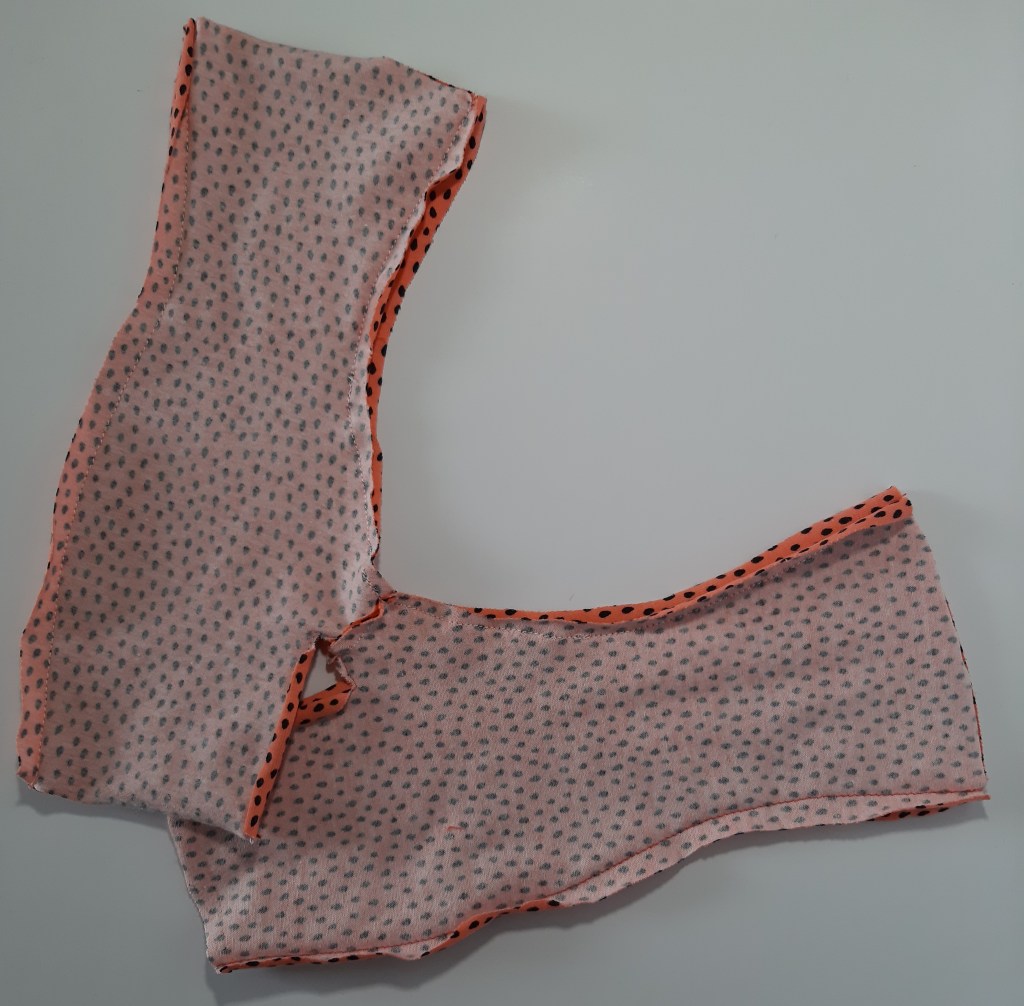
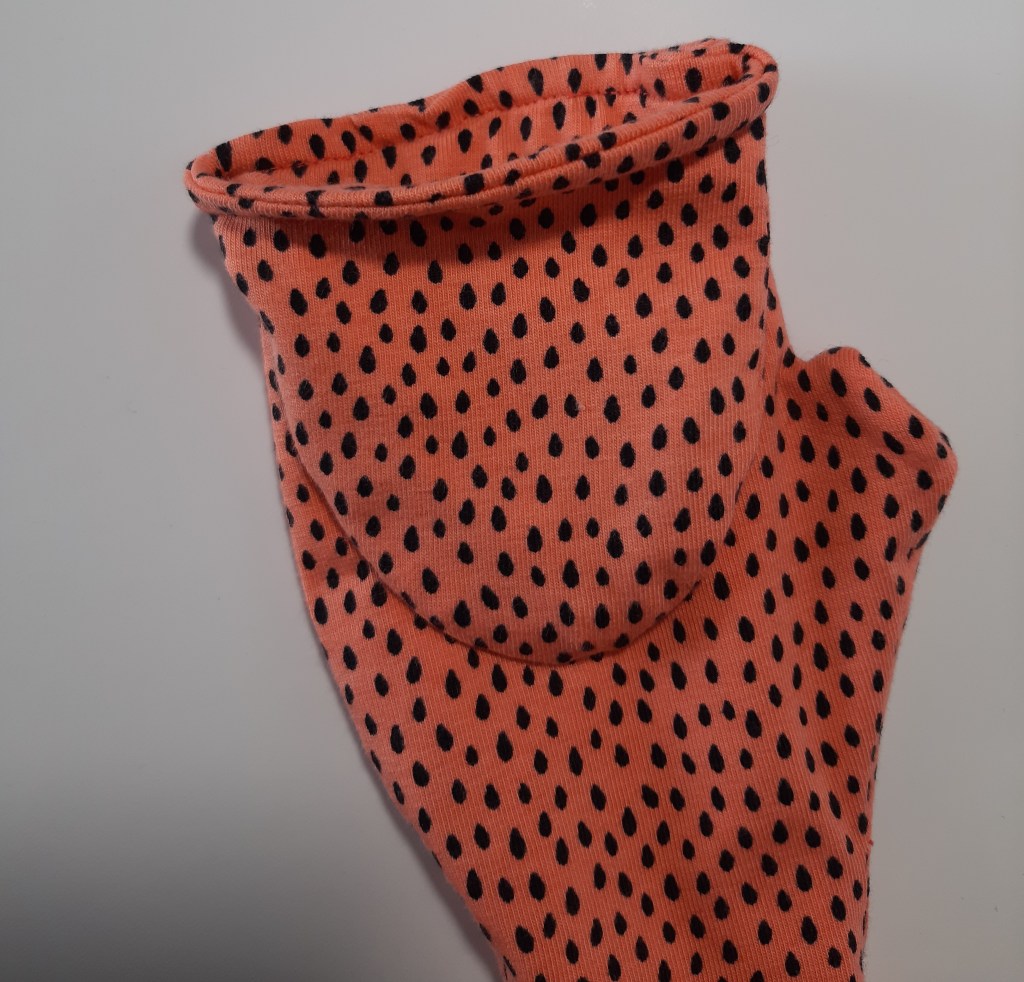
4. Turn glove right side out.
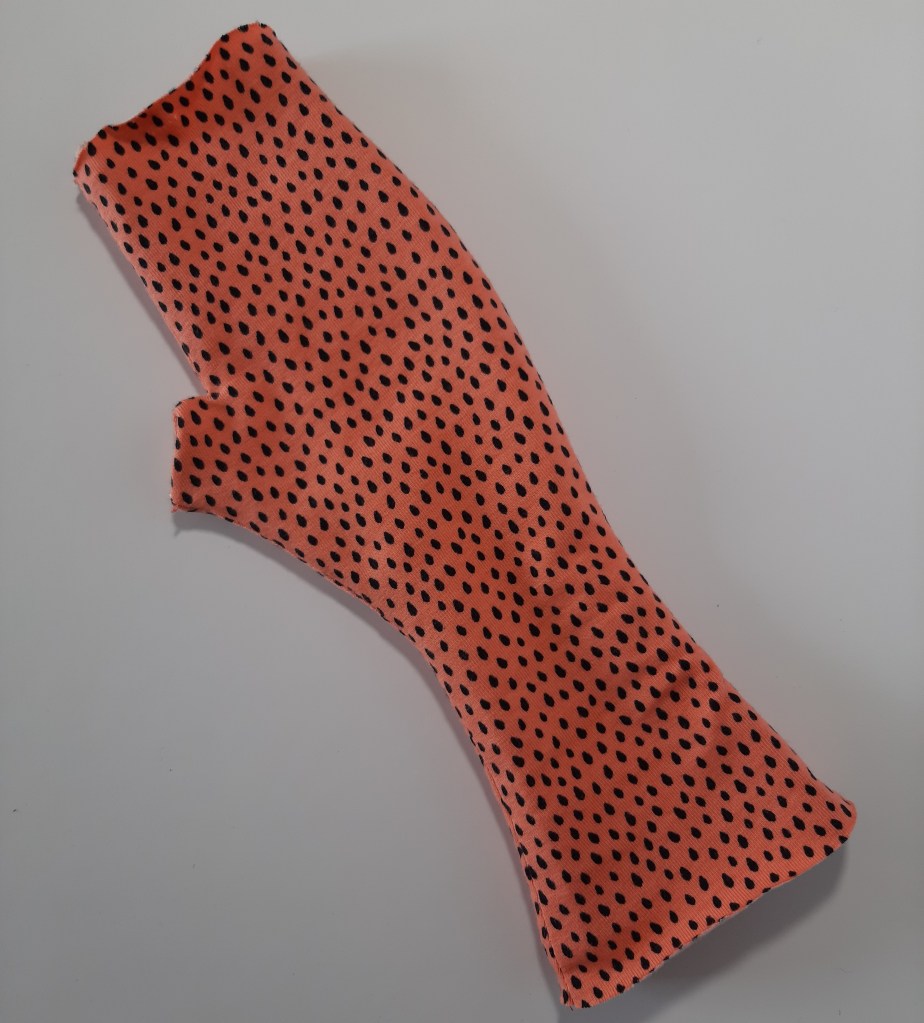
5. Press a 5/8” hem on both lining and outer for wrist and finger openings. Turn right side out, lining and outer WST, and pin hems together.
6. Slipstitch hem of lining and outer together at edge. Keep the stitching loose and test enough give remains in the fabric as you sew.
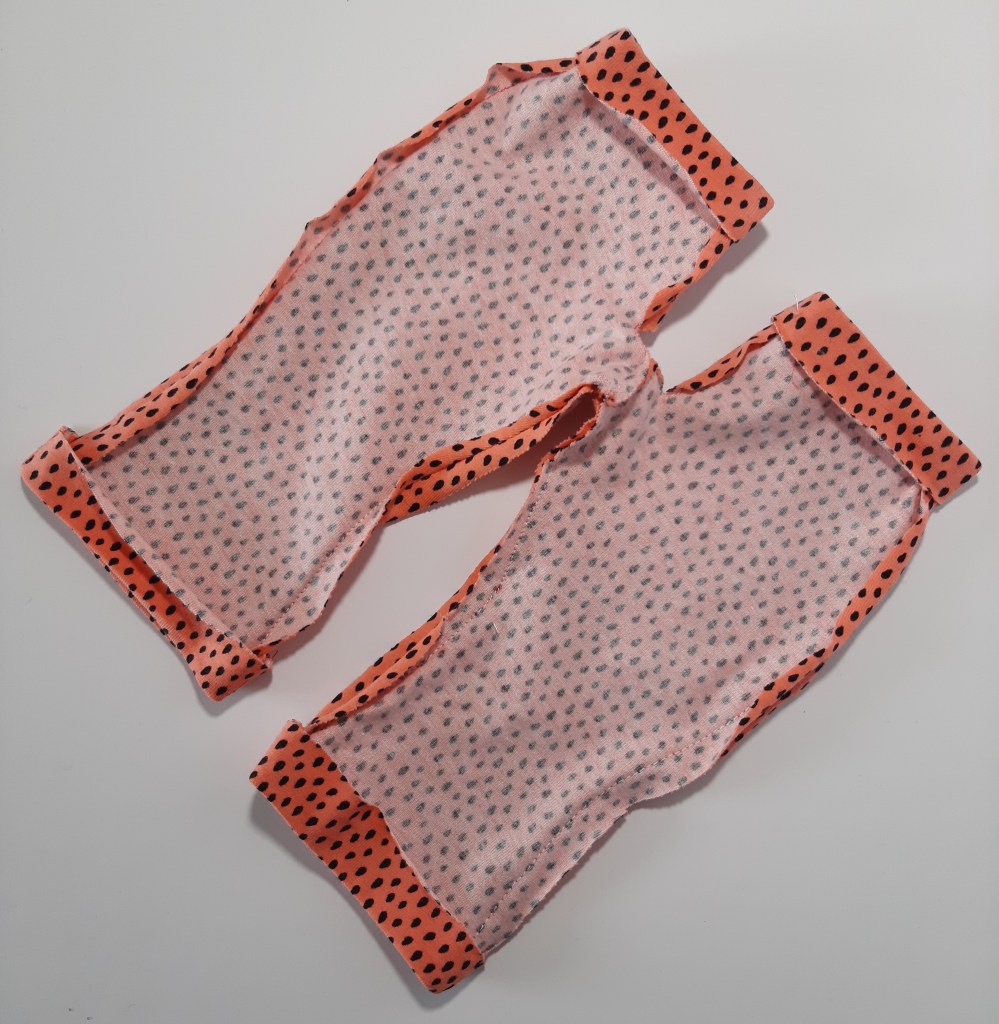
7. Sew each pair of foldover flaps RST. Notch edges. Turn and press.
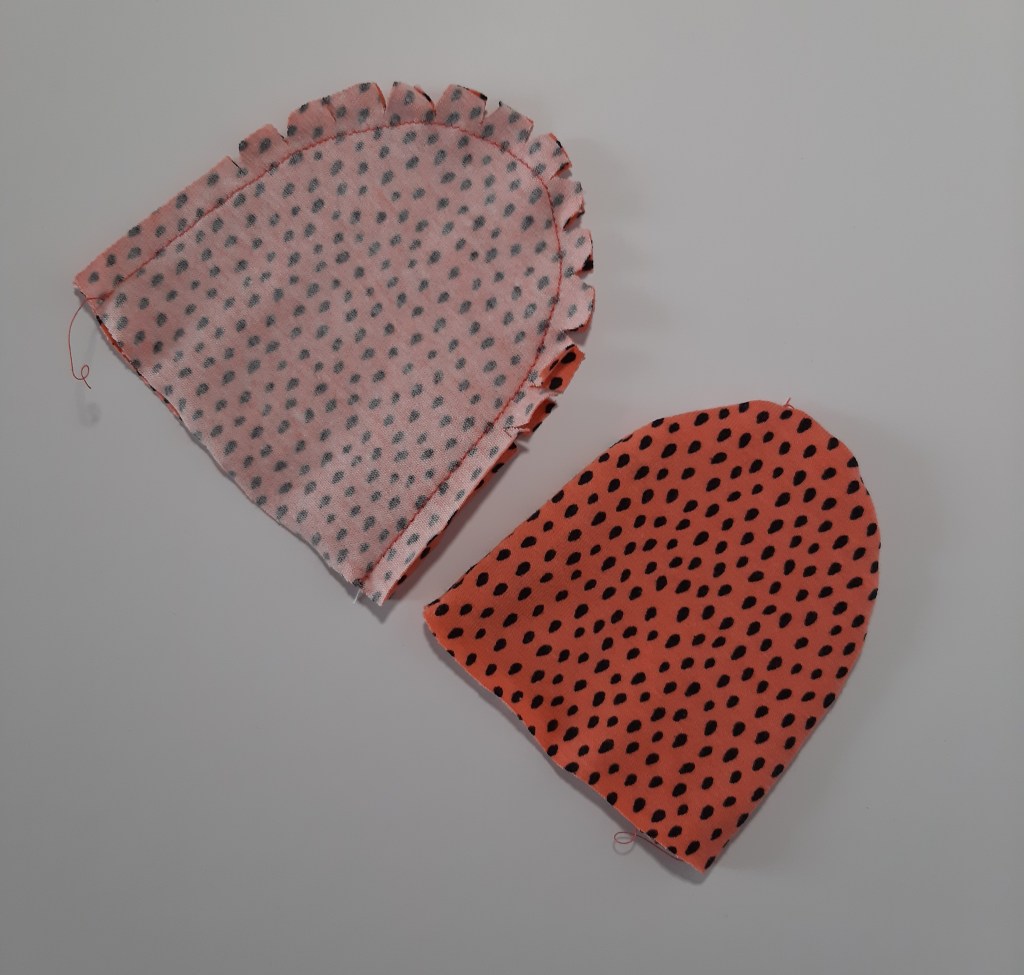
8. Turn one pair wrong side out and slip other pair inside RST. Pin, matching seams, and stitch all the way around the edge leaving a 6/8” turning gap. Backstitch at start and end of stitching.

9. Tuck one pair inside the other, WST and press.
10. Matching seams and edges, pin the side of the foldover with the turning gap to the upper side of the finger opening. Stitch at 2/8”, taking care not to catch the other side of the glove or turnover.
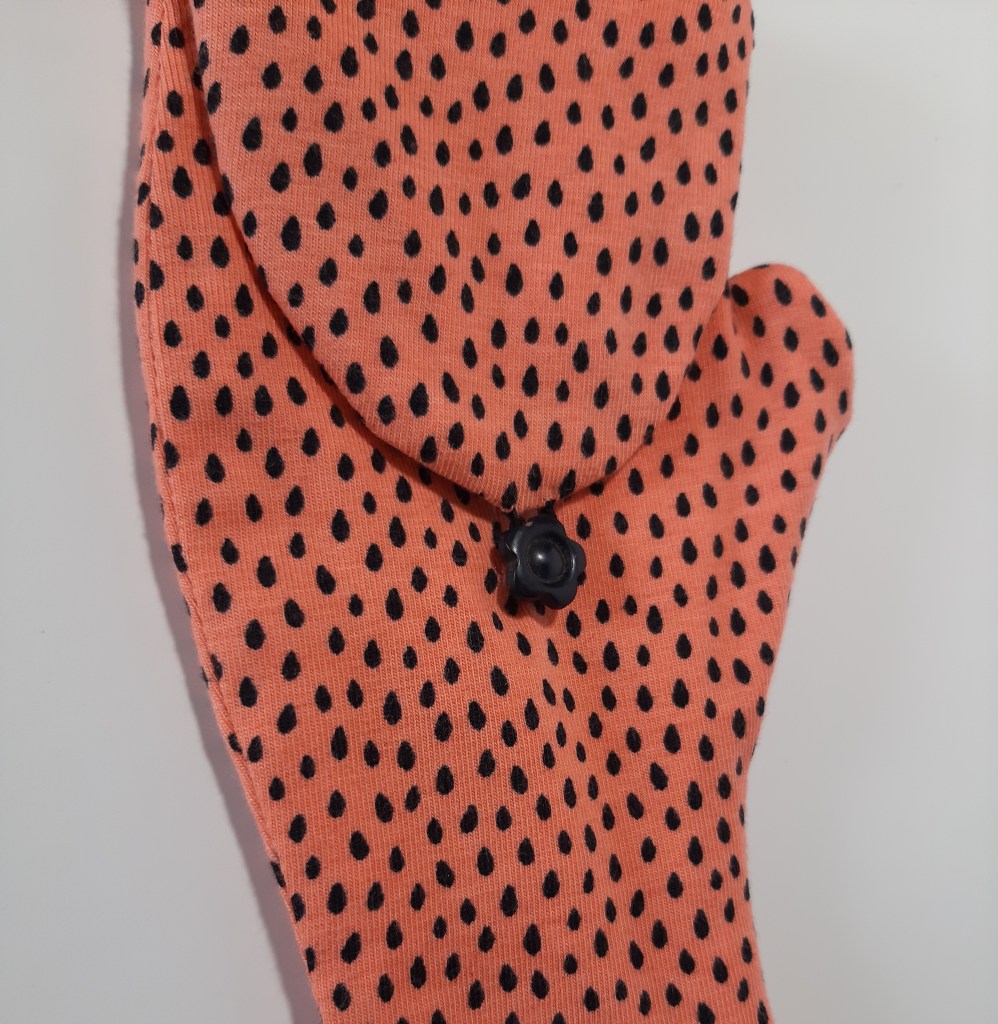
11. To finish, sew a button onto each glove as shown, and make a thread loop from the curved edge of the foldover to fasten over the button.

And there you have it, cosy fingers ready for business! Don’t forget to subscribe and share your makes – I’d love to hear how you get on. Happy cosy sewing!

2 thoughts on “Sew your own fingerless foldover mittens”