
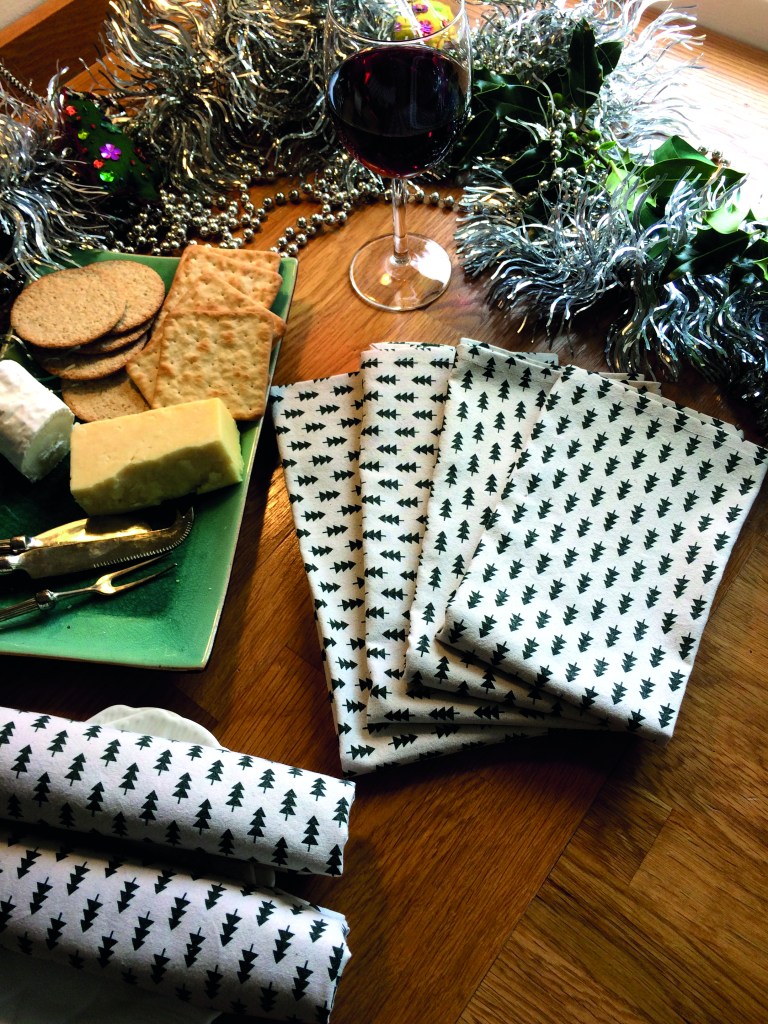
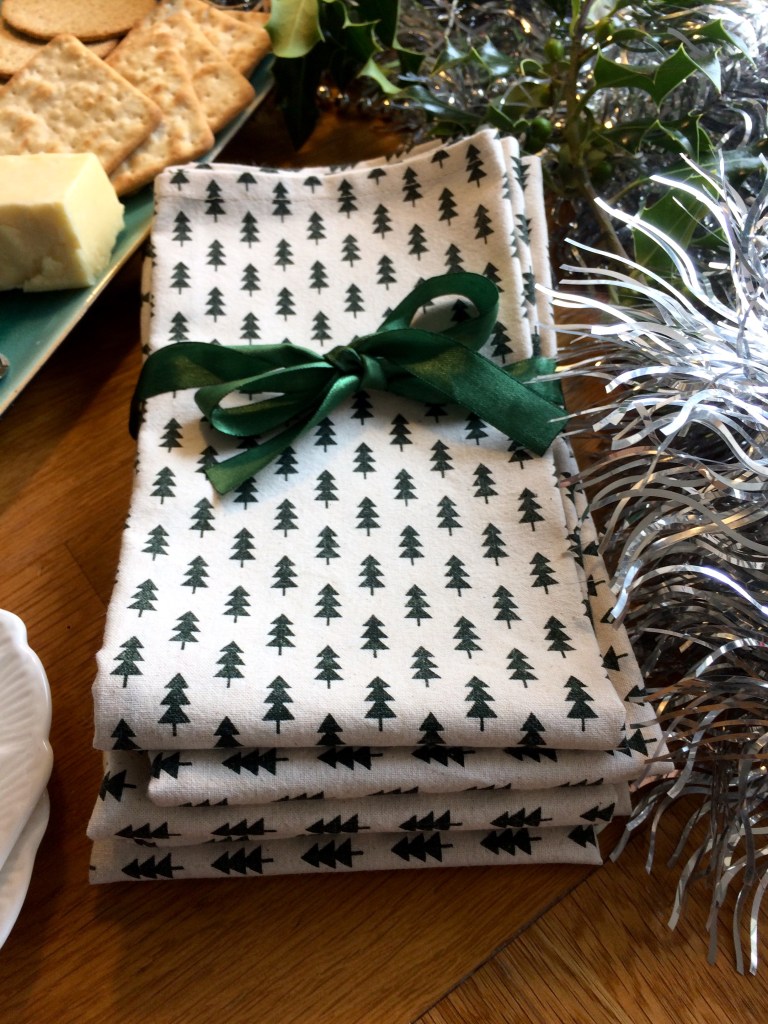
Follow this easy-peasy method to create a set of Christmas napkins with mitred corners – a lovely little gift that can be reused and reloved year after year…
Christmas may be just around the corner, but there’s still time to whip up a few last minute delights to give as gifts this year.
As mentioned in our post on Christmas gift ideas here, a set of four napkins does not come cheap – so not only are these useful, they also hit quite high on the alternatives-to-spendy-presents chart. (A chart known only to People Who Make Stuff.)
Best of all they’re pretty good for the environment being washable, reusable, and not wrapped in a mountain of plastic wrap.
You can make a set up in a few hours and they’ll look jolly nice all crisply pressed in a bundle wrapped up with a ribbon. Follow the tutorial below to make your own today!
Materials and tools
45cm square piece of cotton for each napkin / approx 1m of 140cm wide fabric for a set of six
Removeable fabric marker
Steam iron and pressing cloth
Measuring guage
Notes
Pre-wash fabric before cutting to ensure colour fastness and no surprise shrinkage
Seam allowance = 1/2″
How to make
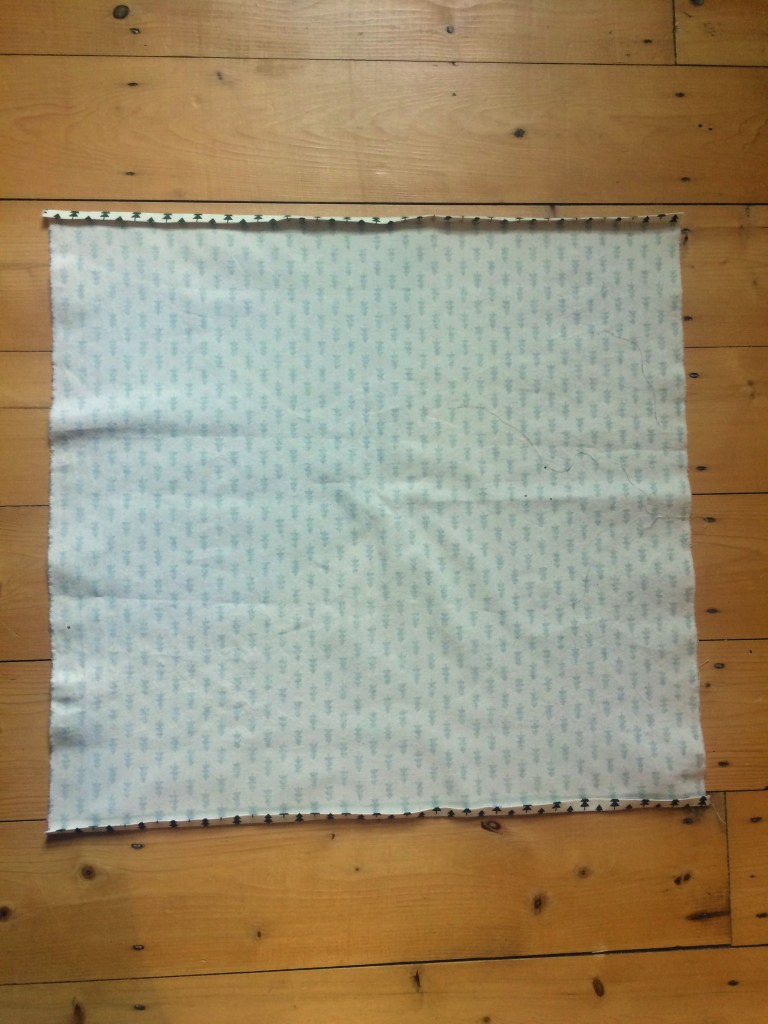
First, cut out fabric to desired size, allowing for your seam allowance. Make sure your napkins-to-be are nice and square at the corners. I like to cut 45cm square napkins as this means you can squeeze six napkins out of 1m of 140cm wide fabric.
Exact seam allowance doesn’t really matter, the rule of thumb is that each fold should be the same amount. Here we’re working with a half inch or 1.25cm allowance.

Press opposite sides 1/4 of an inch then fold again another 1/4 inch and press.
Unfold the pressed sides, and then do the same with the remaining two opposite sides.

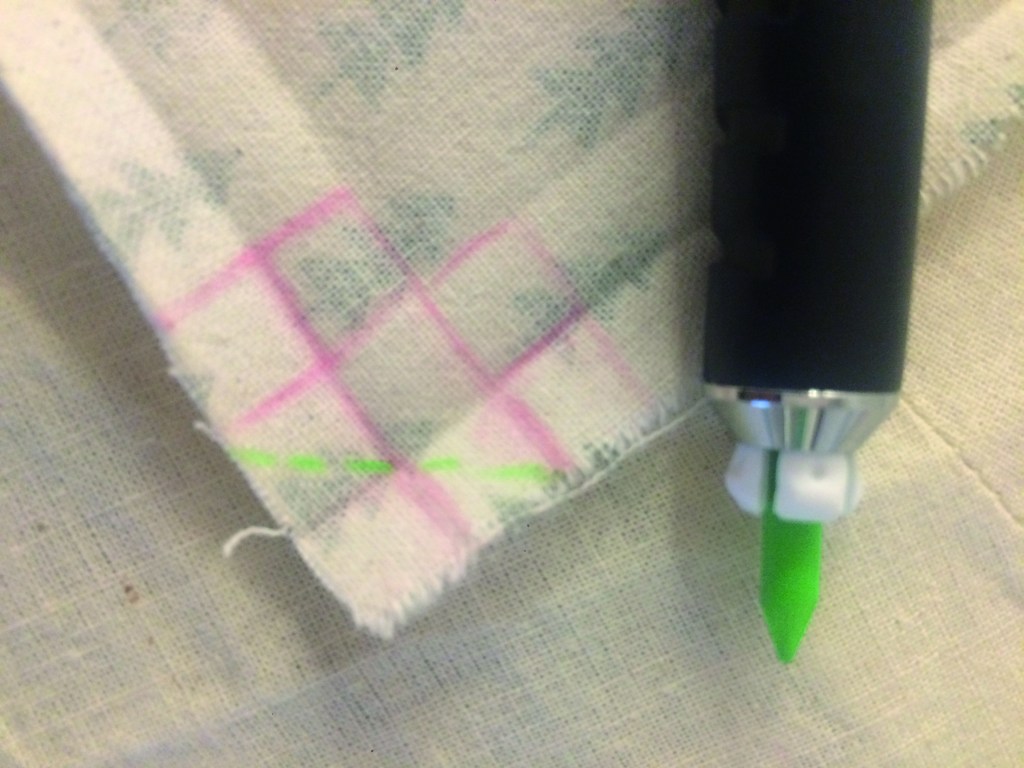
Unfold at the corners, and you should see the criss-cross tracks from all that pressing. I’ve highlighted these with pink chalk, though this shouldn’t be necessary once you get going.
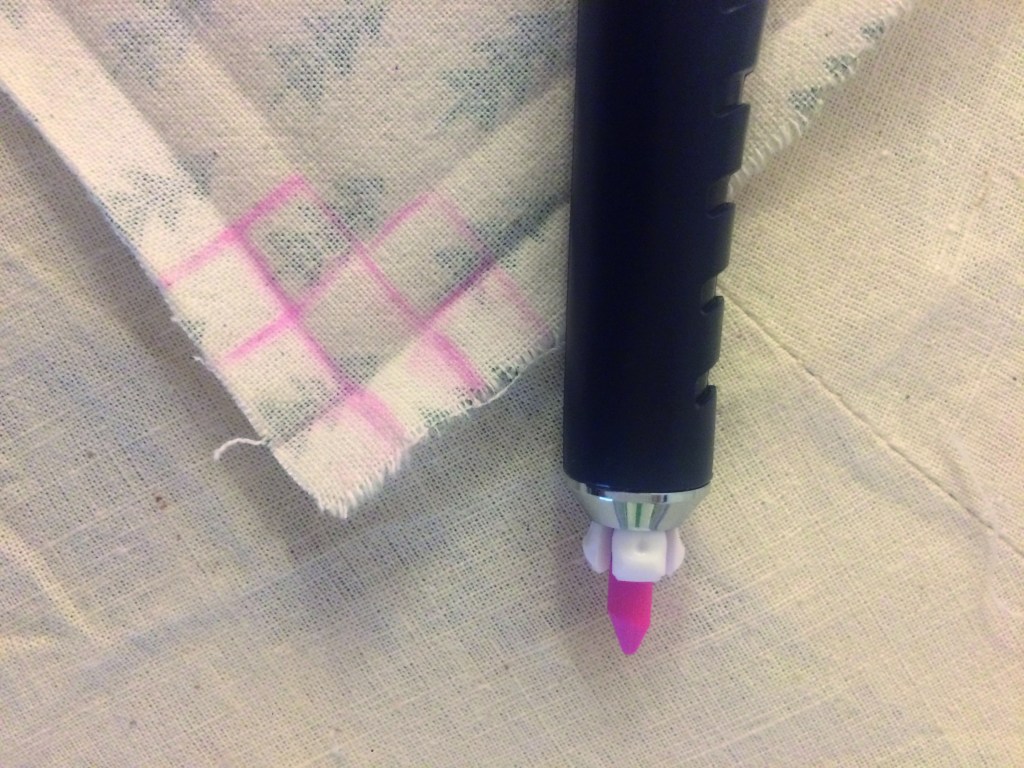
Using the pressing marks (in pink) as a guide, mark the diagonal line across the tip of the corner, spanning the outer folds (in green).
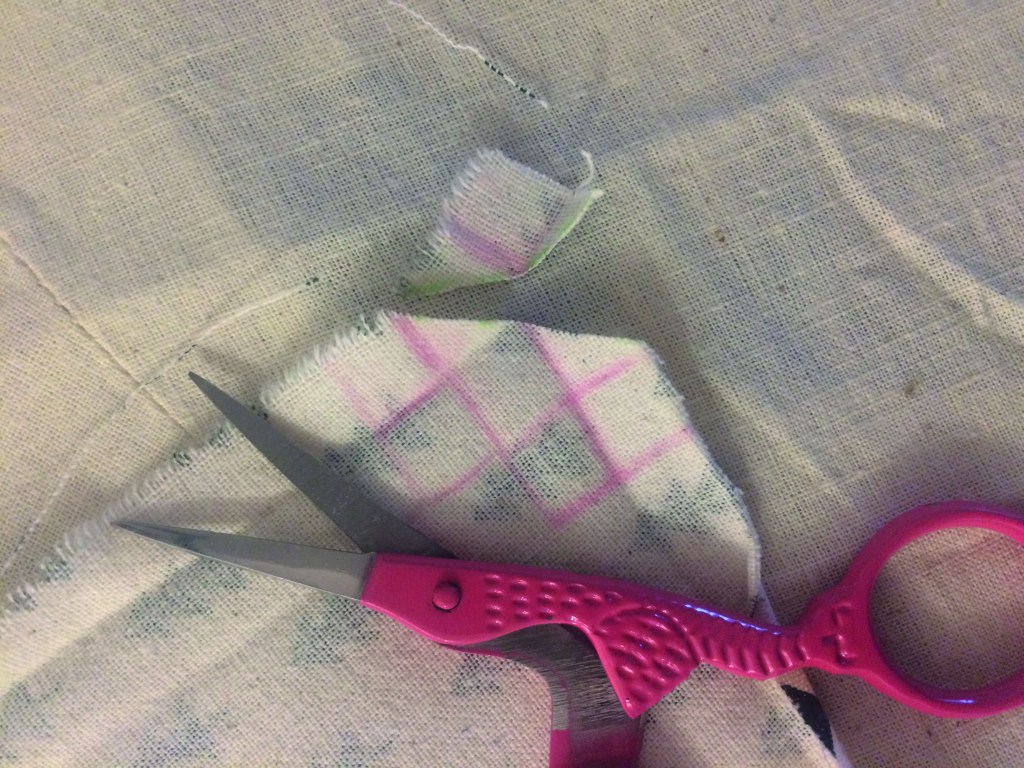
Using the pressing marks as a guide, snip the corners off on the diagonal (along the green chalk line).
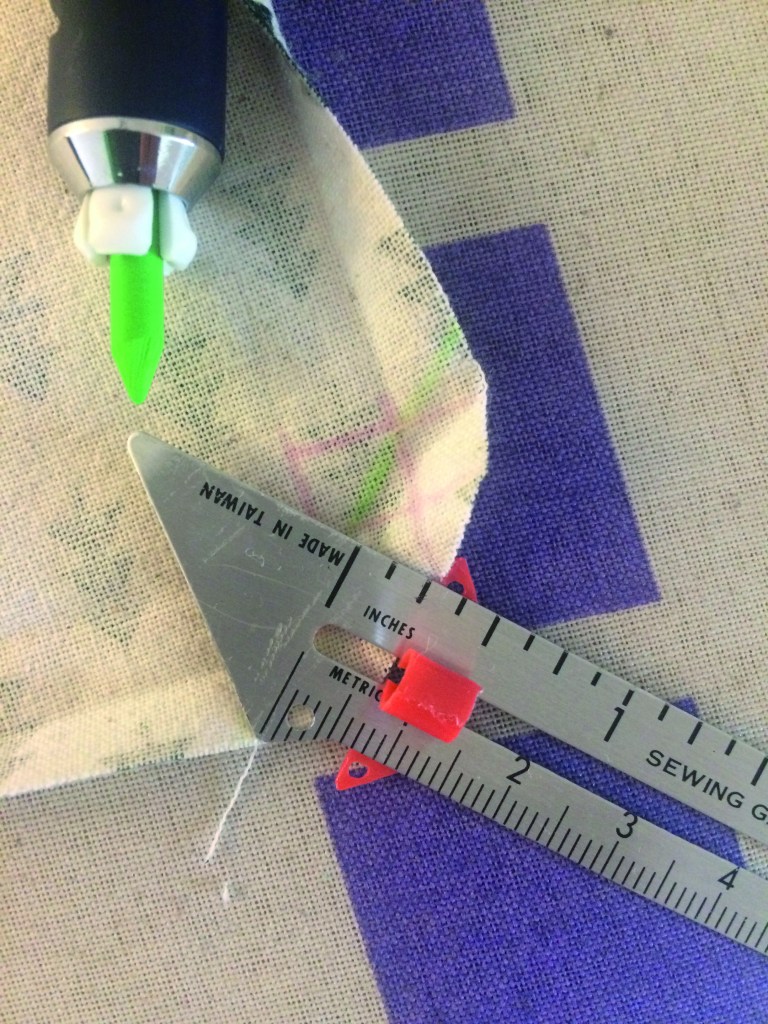
Fold up another 1/4 inch from the straight snipped-off end and press.
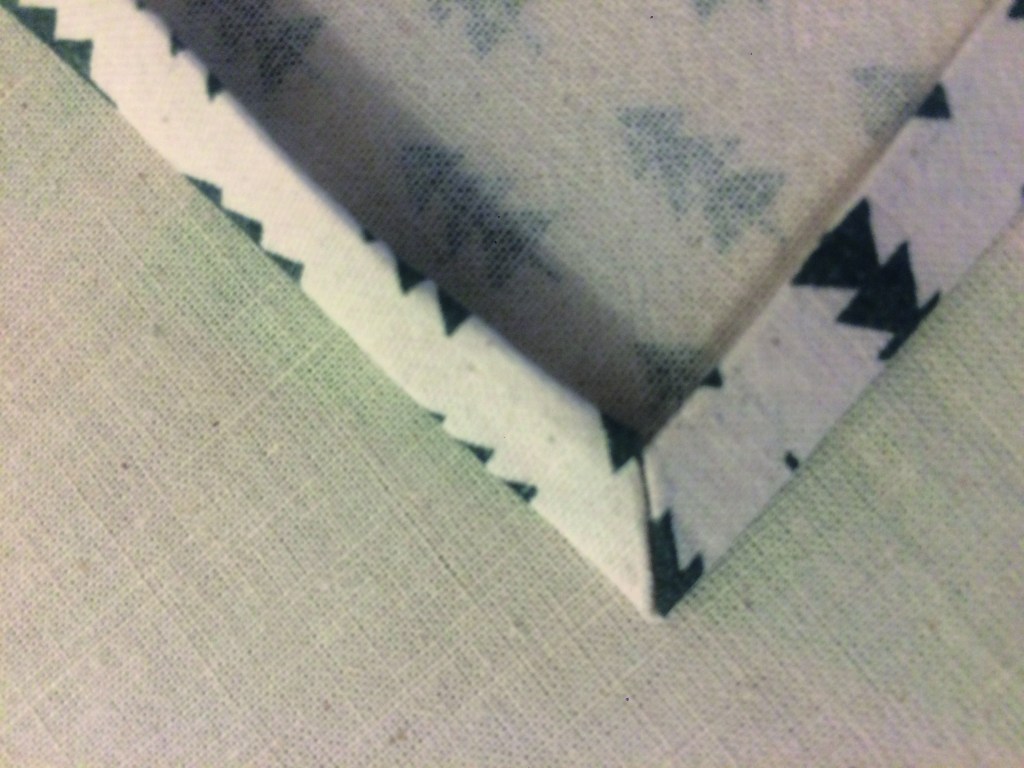
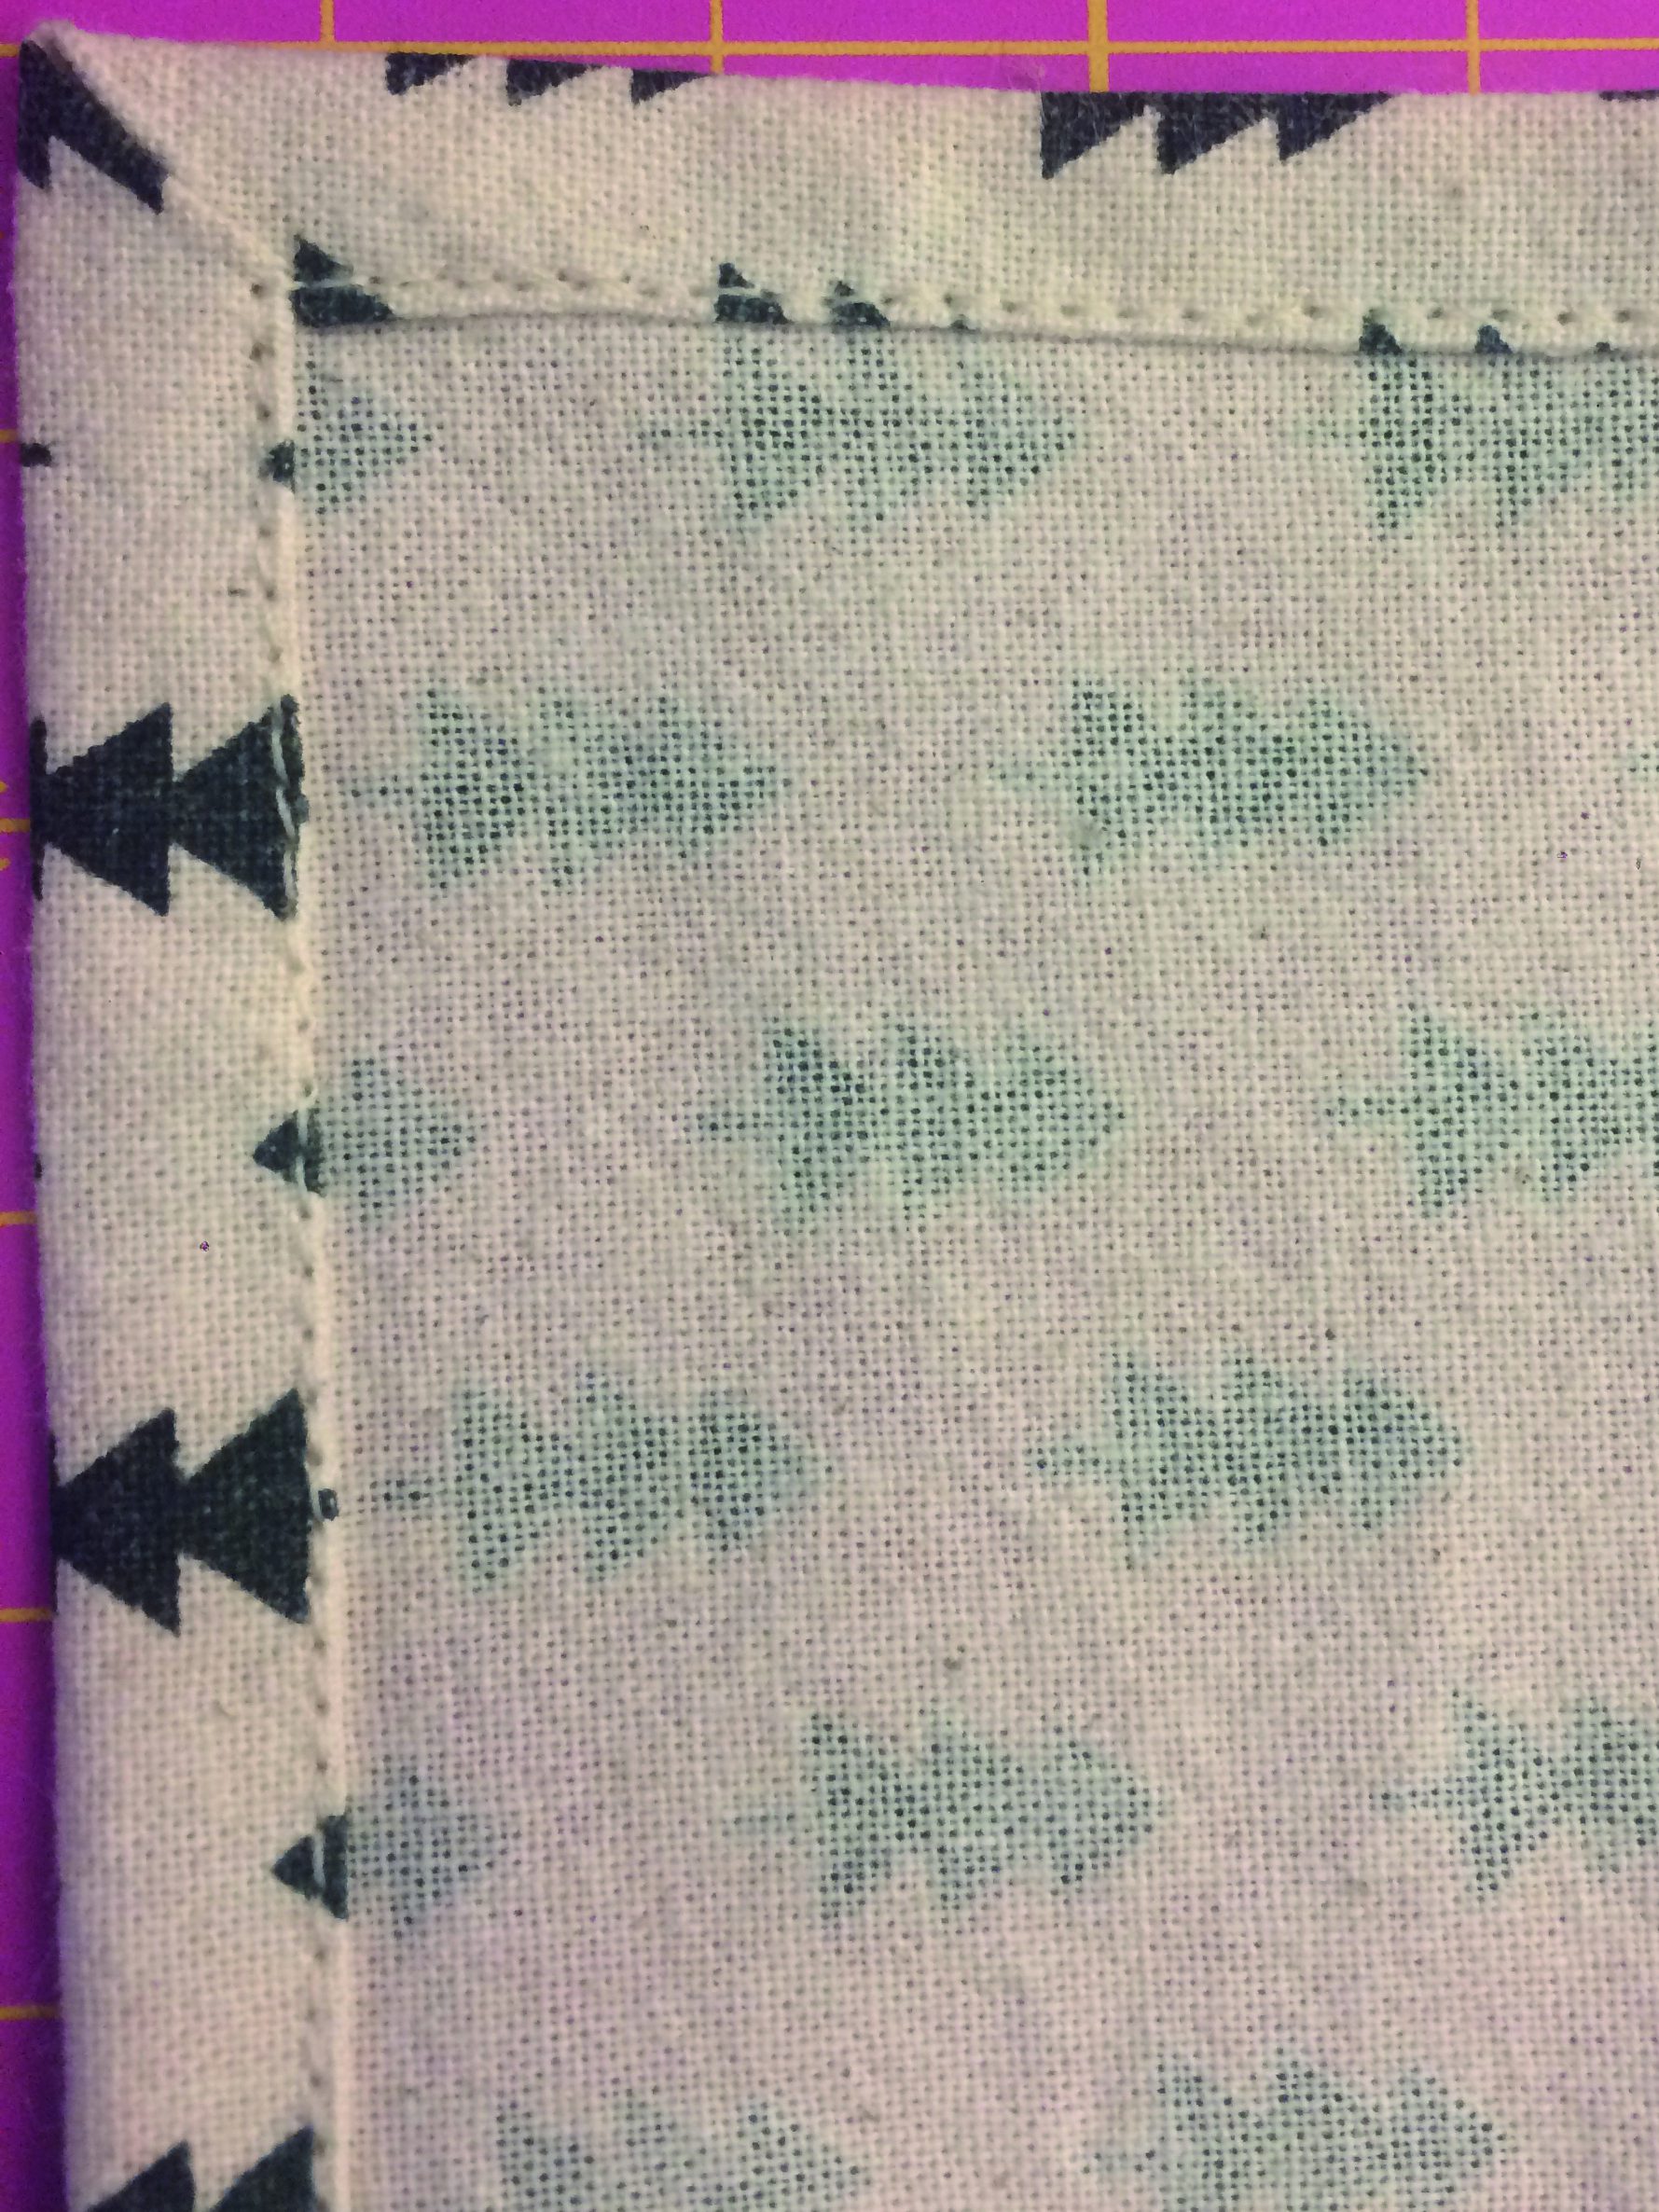
Refold each side of the napkin along the two pressing lines so that the corners meet on the diagonal. Press again for good measure!
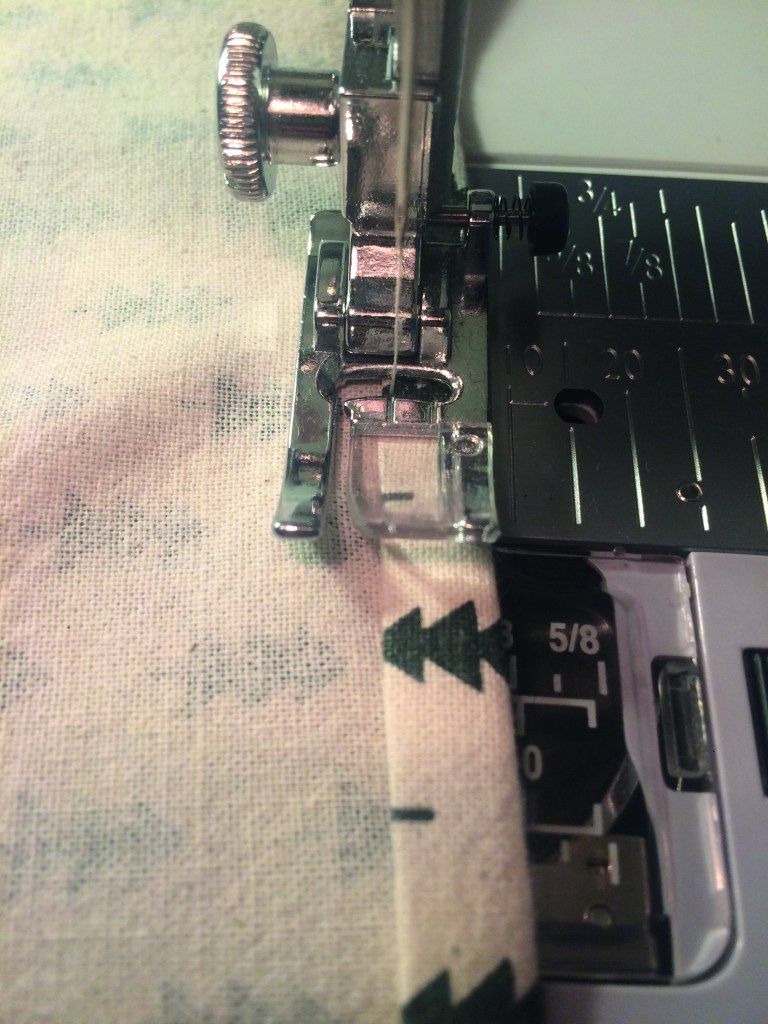
Sew close to the edge all the way round, pivoting at the corners.
And voila! Napkins with mitred corners.


One thought on “Sew your own Christmas napkins with mitred corners”