
One of my Gran’s go-to sayings was ‘the Devil makes work for idle hands’. Unsurprising, perhaps, given she was an avid knitter and her hands were never at rest. Even in her later years, when they were gnarled and twisted by arthritis, she always had a pair of loaded needles on the go. Her crafty restlessness has trickled down through the generations; it’s taken me a few decades to realise my love of sewing is largely borne out of its ability to harness and transmute fidgeting into things that are, to paraphrase William Morris, both useful and aesthetically pleasing.
My evening sewing fodder has, for several years, been finishing garments by hand – slip-stitching hems, snipping threads, sewing on buttons – and repairs (endless unpicking, tacking, restitching). But recently my sewing output has dropped off somewhat. Not for a lack of love, but more the slow dawning realisation that I have enough, and making more means something – mostly likely something I made earlier and love – is going to have to clear the way for the new arrival.
It’s a great position to be in, because it also means that the clothes I’ve made that remain in my wardrobe have met my standards (often improbably restrictive) for ‘passable in public’. Over time, the percentage of passable in public items has gradually crept up and overtaken the impassable portion to the point that things stopped being replaced and upgraded.
And now here we are: idle hands.
Initially the mending pile served its purpose. But I’m now clutching at straws. I’m currently working on an antique brocade Cheongsam. It had never been washed (as far as I can tell) and the collar was yellowing after years of being packed away in the attic. I did a bit of a Nancy Birtwhistle on it and it’s come up clean, but the fabric needs a lot of TLC. The jacket is something to dip in and out of, but what to do with these hands on a more regular and longer term basis? Something that involves a needle, a sprinkling of manual dexterity and the possibility of a beautiful finish with plenty of room for error?
After 30+ years of sewing, the time has finally come for me to get to grips with embroidery.
Why has it taken me so long? Since I can remember, I’ve loved clothes – how they look, how they’re made. In my youth I’d always professed a loathing for hand finishing – it seemed so slow compared to the hypnotic hum of the machine. Hand sewing became more appealing in my 30s when I was forced to crash in front of the telly after long days spent baby wrangling. It was, however, still in the service of moving a make along as speedily as possible.
Something must have clicked, though – now my (personal) garment making has slowed, the itch to stitch has stubbornly remained. Slowly, over time, I’ve developed greater patience for the craft of needlework – a desire to immerse myself in the process and let that process slow right down.
Obviously, taking up embroidery in mid-life is terribly cliche. In the olden days, most women would have learned the rudiments at school and have samplers at the ready to nudge the memory and kickstart the motor skills. I wasn’t taught at school, but years of sewing clothing and make-do-and-mending do give a head start: at the very least, I managed to get going without continually sewing my trouser leg to my hoop.
So, how does a dressmaker get into embroidery?
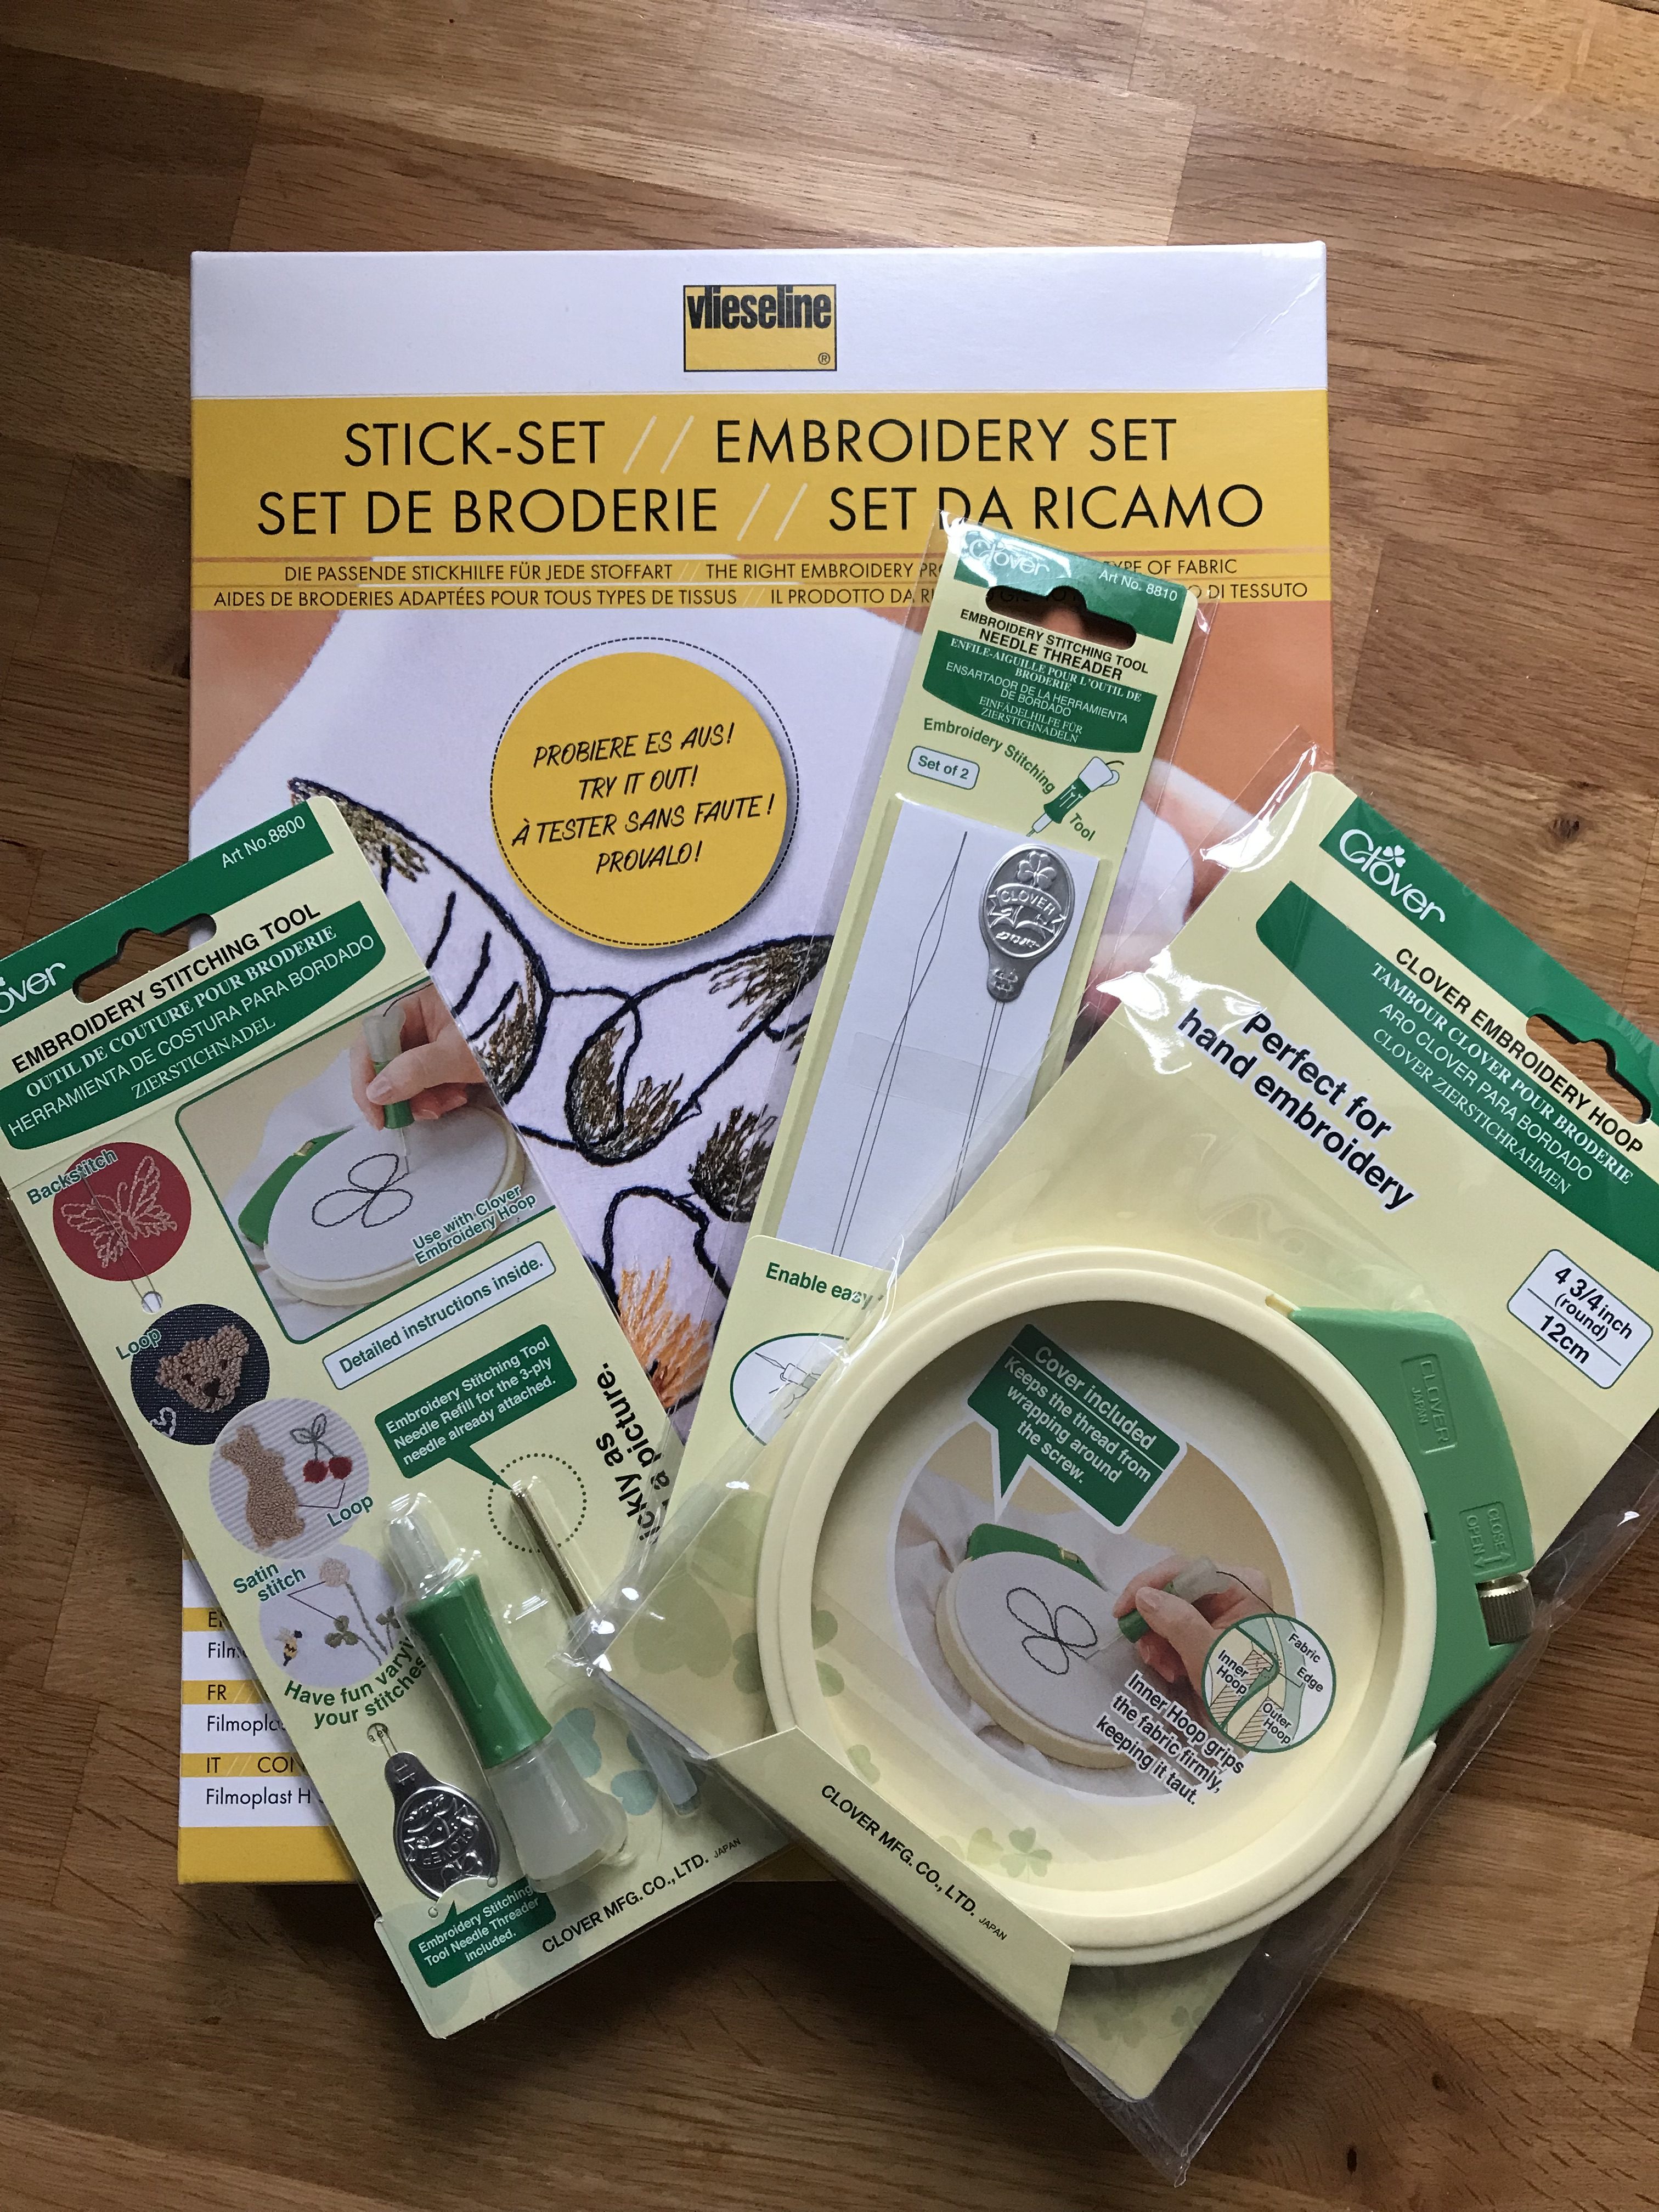
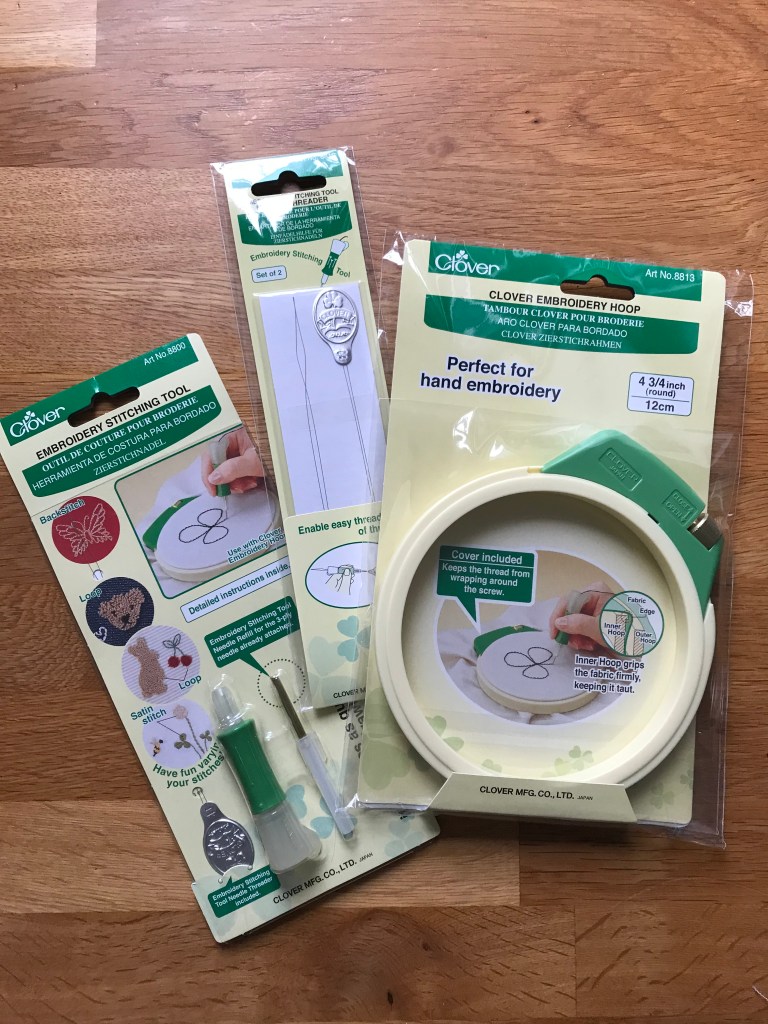
I had the good fortune to be sent a few embroidery-related products by Vlieseline and Clover to review (full disclosure: I’m not paid to review them, but I don’t pay for the products they send) which is what gave me the necessary boot up the backside to get going on something I’d been planning to explore for some time.
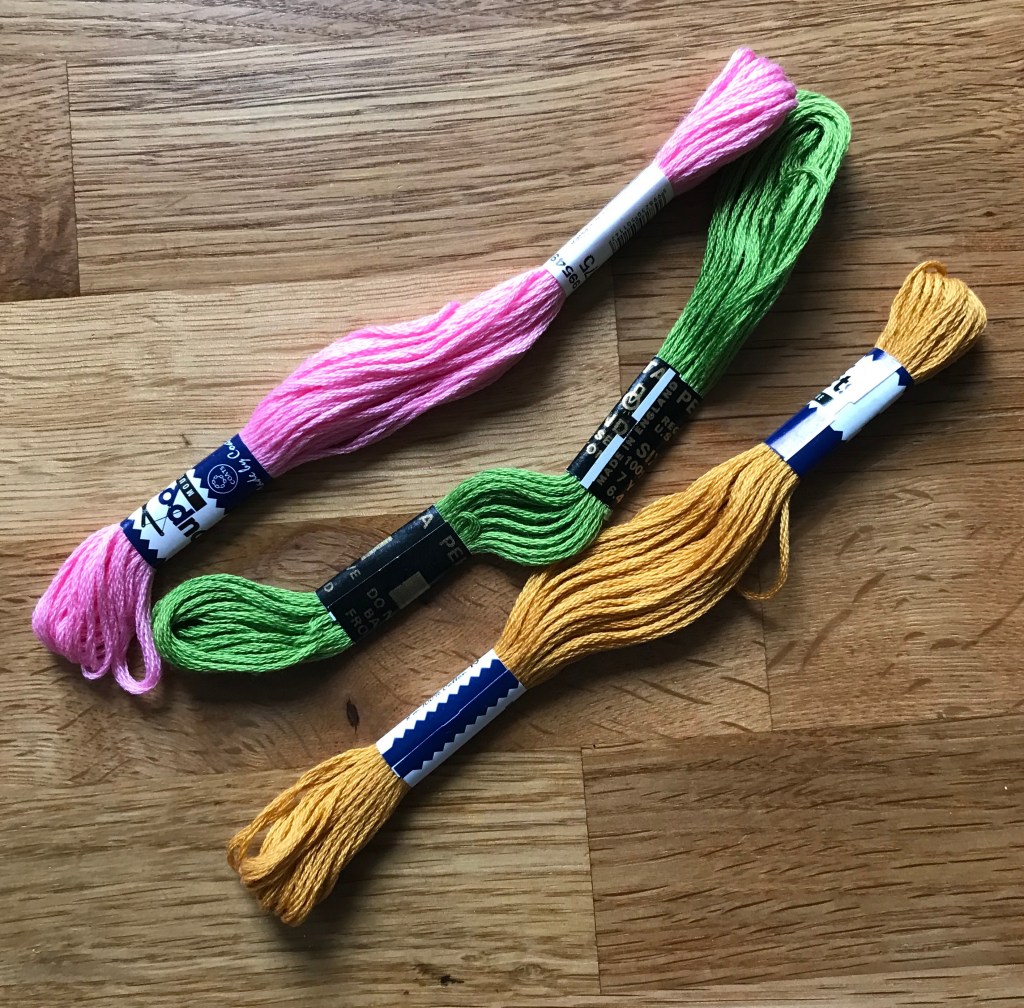
To be clear: you don’t need any of these products to get started. Wooden hoops are ten a penny from your local charity shop – there’s one in my town that seems to have a never-ending bucket full of sewing and knitting stuff. Quite often you can find embroidery threads too. If not you can buy fairly cheap bundles of colours – enough to see if you like the process without too great an investment. You can also double or triple up cotton thread and have a go with that. All that remains to be gathered is a needle with a sufficiently large eye and a healthy stash of cotton scraps (if you make clothes I’m guessing you’ll be in possession of both).
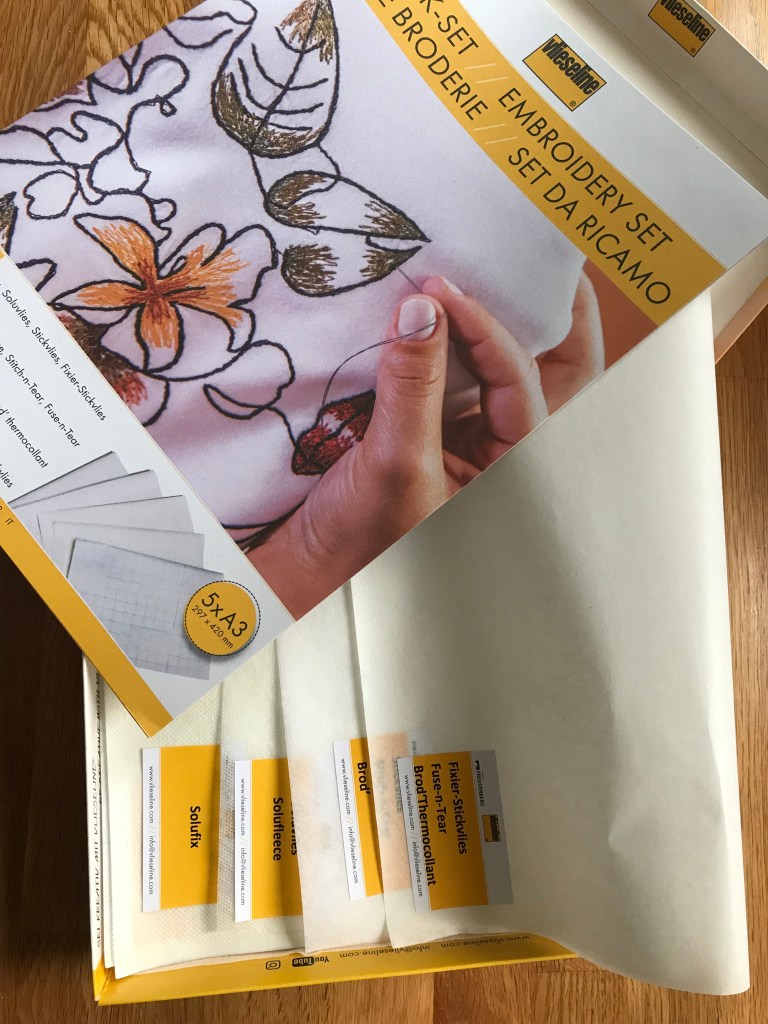
I used a sample of cotton kindly donated to me by my daughter (my entire stash, at the time of writing, is locked away on the top floor of the house while we have building work done). This being a first foray into hand embroidery, I plucked for one sample from the Vlieseline Embroidery Set to focus on initially: Fuse-n-Tear or Fixier-Stickvlies. This interfacing is good for stabilising fabric, even stretch fabrics, and will work for both hand or machine embroidery. When you’ve finished embroidering, you simply tear away the interfacing, leaving the thread supported where needed.
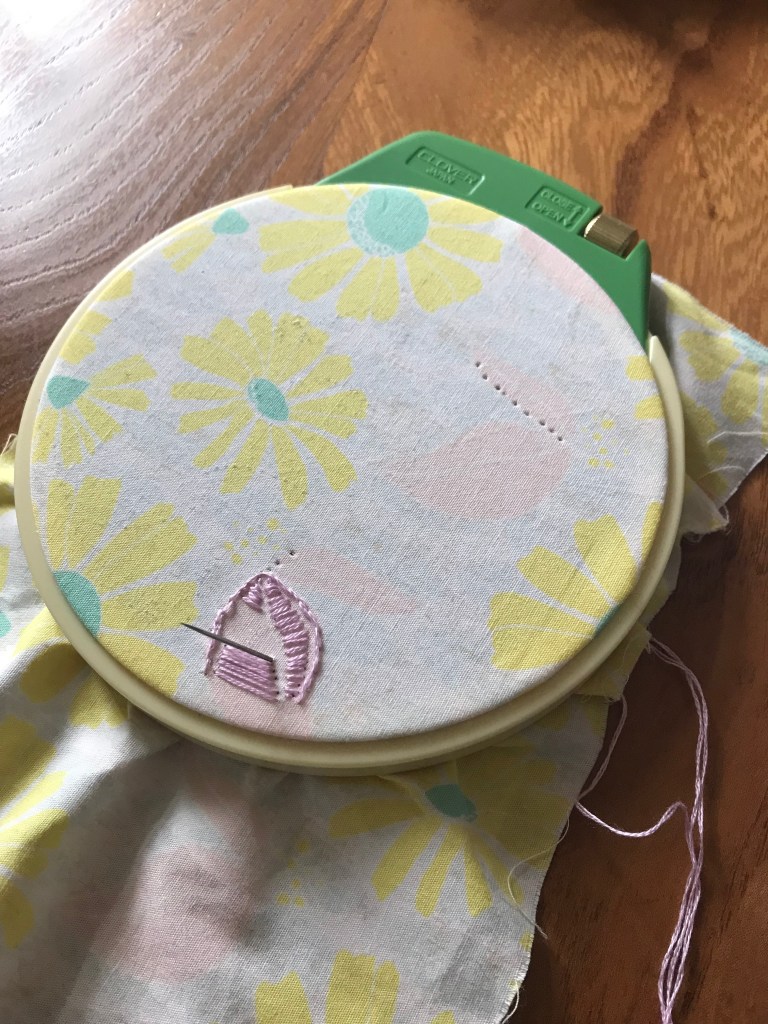
I ironed on a square of Fuse-n-Tear to the wrong side of the cotton poplin and sandwiched it into my 12cm Clover Embroidery Hoop (see image, above). Now, I’m only a beginner, but I loved using this little hoop – not least because my hand was held with easy-to-follow instructions on which way up everything goes (typically something that grounds creative proceedings to a halt chez Grinlow). Also, its small no-nonsense size means you actually get quite the sense of achievement after ever so little actual embroidering.
Getting going was made even easier by the fact the fabric I was using had a very faint abstract floral print, so I used this as a stitching guide.
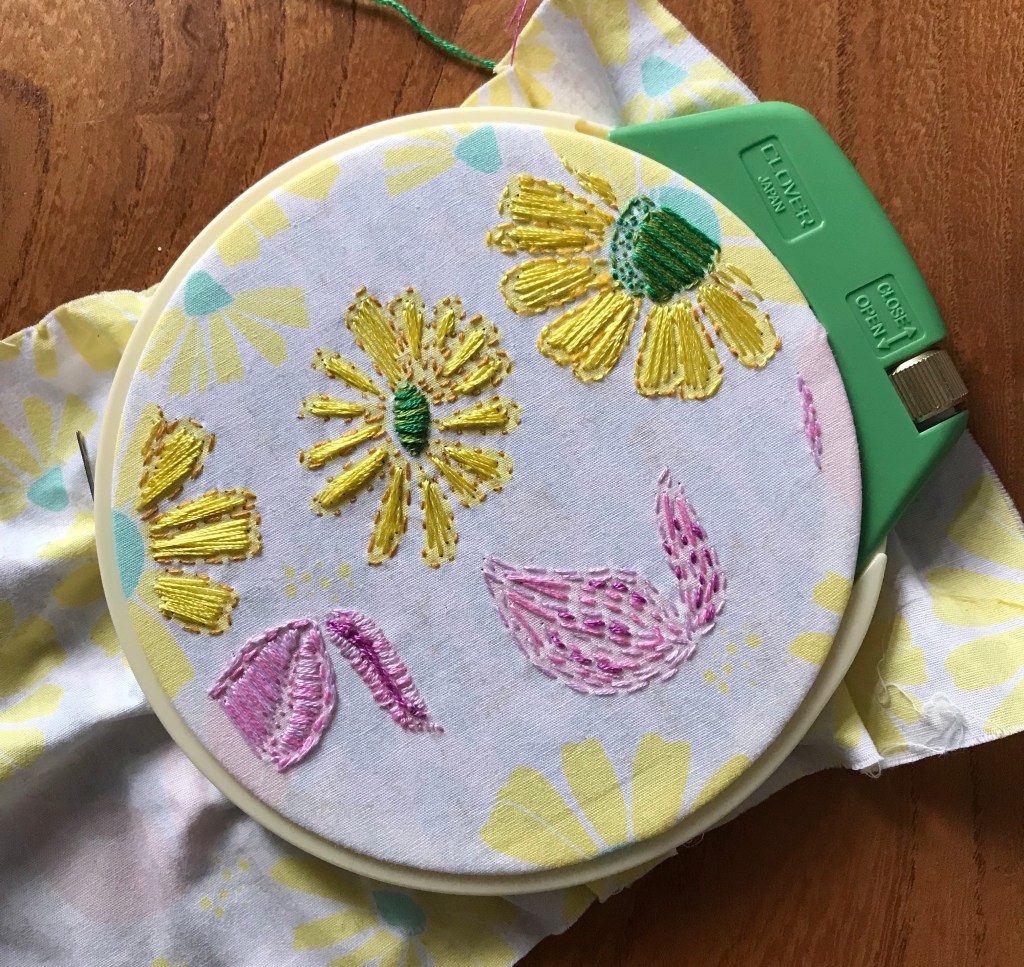
This was an experiment to see a) whether a total beginner could achieve something resembling embroidery within a few hours and b) whether said total beginner would actually enjoy the process.
I’m delighted to announce that the answer to both was yes. Yes, I managed to embroider a few of the flowers within a couple of hours and I wasn’t displeased with the results. And yes, I really did enjoy the process. So much so, in fact, I found it quite hard to put it down to make dinner and chose the hoop over my usual bed time book.

Something I particularly enjoyed was the oddly percussive quality to puncturing the taught interfaced cotton. If you’re in anyway musical or rhythmic I can guarantee this will give you a surprising amount of satisfaction all on its own.
On that note, if the stitching feels a bit too slow going and you want to pick up the pace, the Clover Embroidery Stitching Tool (pictured above with the needle threader) might be worth a go. It punctures the fabric from above and you move across the fabric dropping the stitches without having to pull the thread from the underside. You then secure the loose loops on the back with fabric glue. I have to admit I didn’t gel with this method as I actually prefer the process of proper stitching and knowing for sure it’s secure as I work.
As I went to bed last night I stopped by the fire guard that sits in front of our bedroom fireplace. It’s a beautiful mid-century oak-framed glass-fronted guard and the picture is an abundance of beautifully ornate embroidered flowers. I’ve loved it ever since it came to us after my husband’s grandmother passed away some years ago, but this time I stopped and marvelled at just how magnificently talented she was.

The lovely thing is that, as I climbed into bed, hoop in hand, I didn’t lament my own dismal efforts, but felt inspired by what might be, and how lovely the whole process had been. Why hadn’t I tried this sooner? Clearly I have a lot to learn about this art form. My bedside reading now includes a beautifully bashed-up copy of McCall’s Needlework In Colour that belonged to my Gran – replete with all the needlecraft techniques her generation would have been expected to learn at school.
I’m always on the lookout for ways to sew that don’t produce yet more waste in the world, and embroidery has ticked that box with aplomb. I will now be adding a few more threads and maybe a larger hoop to my downstairs sewing box – something to accompany the never-ending rotation of repairs and refashions that wind their way into my evening sewing pile from month to month.
Suffice to say I’m inspired and will be thinking about ways to incorporate this into something useful. I love the samplers kids used to produce at school to show their skills, but I prefer the idea of learning on the hoof and making every thread count. A beautifully embroidered hot water bottle cover, perhaps. If you have any great ideas for using embroidery (particularly for gifts) I would love to hear them – let me know in the comments below.
You can find out more about Vlieseline products and how to use them over at YouTube and at www.vlieseline.com. You can also find out more about Clover sewing tools and gadgets at YouTube and Instagram @cloverusa.

Lovely article Ruth,I enjoyed reading it. I totally agree that the slowness of embroidery is a very mindful experience and very satisfying.
LikeLike
Thank you so much for your comment. Yes that’s a great way to describe it – I’m so glad I finally had a go!
LikeLike