
With the end-of-the-school-year brain melt in full swing and little time to mail order or trawl the shops for something nice, we’ve cobbled together some easy sews for that special teacher in your little one’s life…
There’s no obligation to make gifts for teachers or teaching assistants, but we’ve always had a little tradition of making something nice to give to our kid’s teachers and teaching assistants at the end of the school year.
The end of term is usually a mild-to-moderate dose of intensity verging on chaos. So, to lessen the overload, we’ve put together a list of of easy-to-sew accessories and homewares you can whip up in a jiffy and have ready for the next morning – Amazon Prime delivery eat your heart out!
ACCESSORIES
1. Simple zipper purse
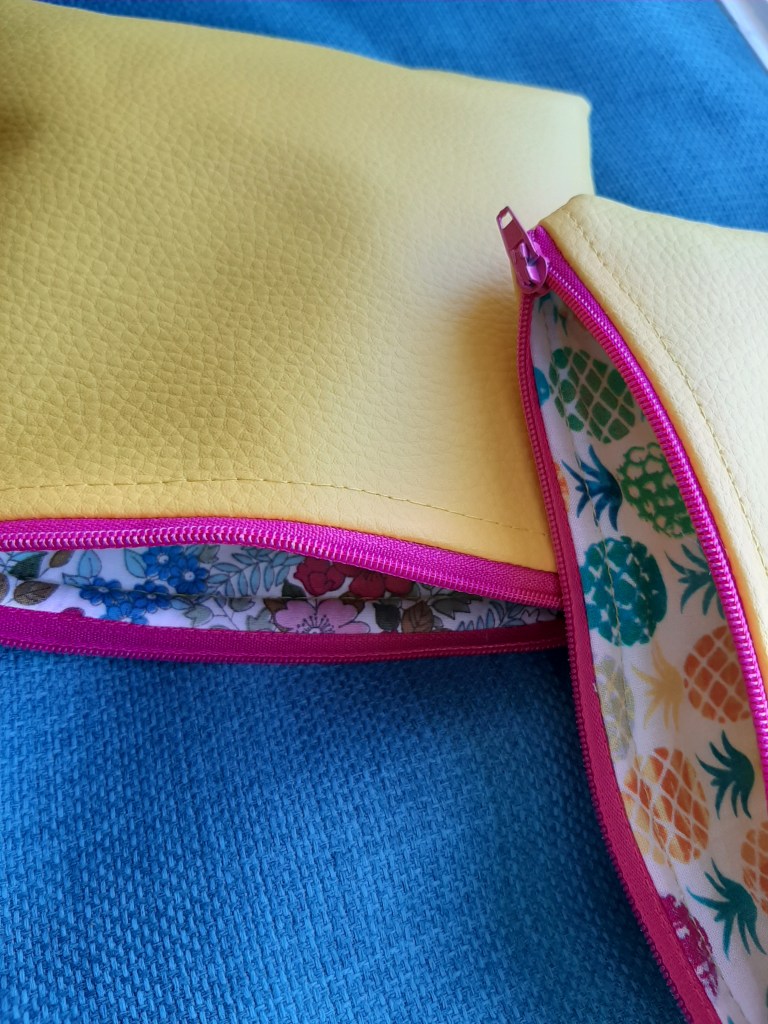
Something to suit anyone and everyone – just pick your fabric and the world is your oyster. Zipper purses are quick to sew and require very little hand finishing. Depending on size, they’re great for pencils, tools, make-up and so much more. Size down for a coin purse or up for a clutch bag. The options are endless.
There are loads of free patterns online for zipper purses, and handy video tutorials on YouTube to get you started.
The nuts and bolts of construction are as follows: cut two lining pieces and two outer fabric pieces in your chosen size (plus 1cm seam allowance). Select a zipper the length of the longest edge (longer is fine as you can cut it down later). Sandwich the zipper between the outer and lining so the fabric is RST and when you open them out WST the raw edge of the zipper tape is neatly hidden inside.
You then sew the outer edges RST and then straight across to the lining, backstitching at the bottom edge to leave a turning gap. Don’t forget to leave the zipper open before stitching the sides. Once turned, poke out the zip corners and slip-stitch the gap closed.
2. Wash bag
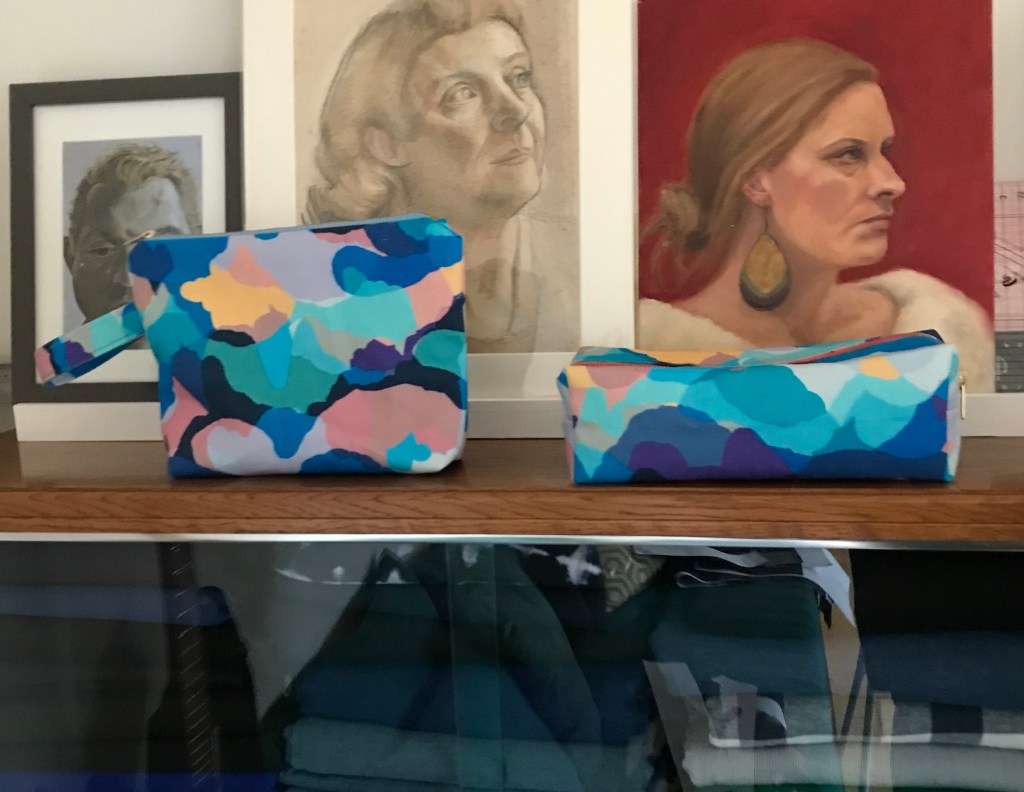
Usually a plump triangular affair with a flat bottom, the wash bag makes a great gift. You can make them in any size you fancy, from a little handbag friendly make up bag to a great big everything-but-the-kitchen-sink affair. Add a tag to the zip with a pom pom or some other fancy delight for a luxe vibe, or sew in pleather or corduroy for a minimalist aesthetic.
To make a wash bag, sew a basic zipper purse as above, but make it a little deeper than usual. Then, once the zip is in but before sewing up the sides, chop out a neat square from each of the bottom two corners (about 1 inch should do it). Stitch the bottom and sides together as for the zipper purse, leaving a turning gap in the lining, but before turning right side out, pinch together the square’s raw edges so the side seam and bottom seam align. Clip together and stitch to secure. Turn right side out, poke out the corners, slip stitch the gap closed and voila! Toiletries heaven!
3. Box case
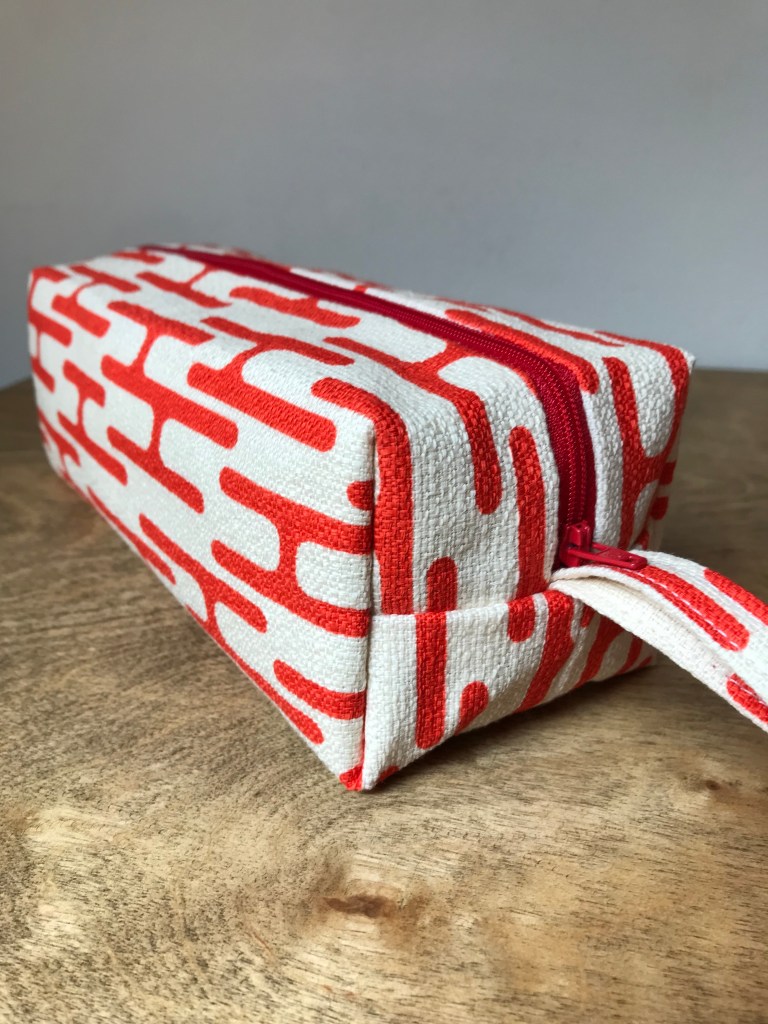
Essentially a fancy variation on the pencil case, but one that can double as a wash bag, tool bag, make up bag or whatever you can think of to stuff in it bag. It’s a roomy alternative to the more standard wash bag and while a little bit fiddlier to put together – the lining on my version has a lovely neat finish and is bias bound in parts and hand stitched – it’s a very satisfying make and delivers a superb looking pressie.
If, like me, you like to do a bit of hand sewing in front of the telly then it’s the perfect project. I promised to publish my pattern for this and it’s still on my to do list – watch this space!
4. Tote bag
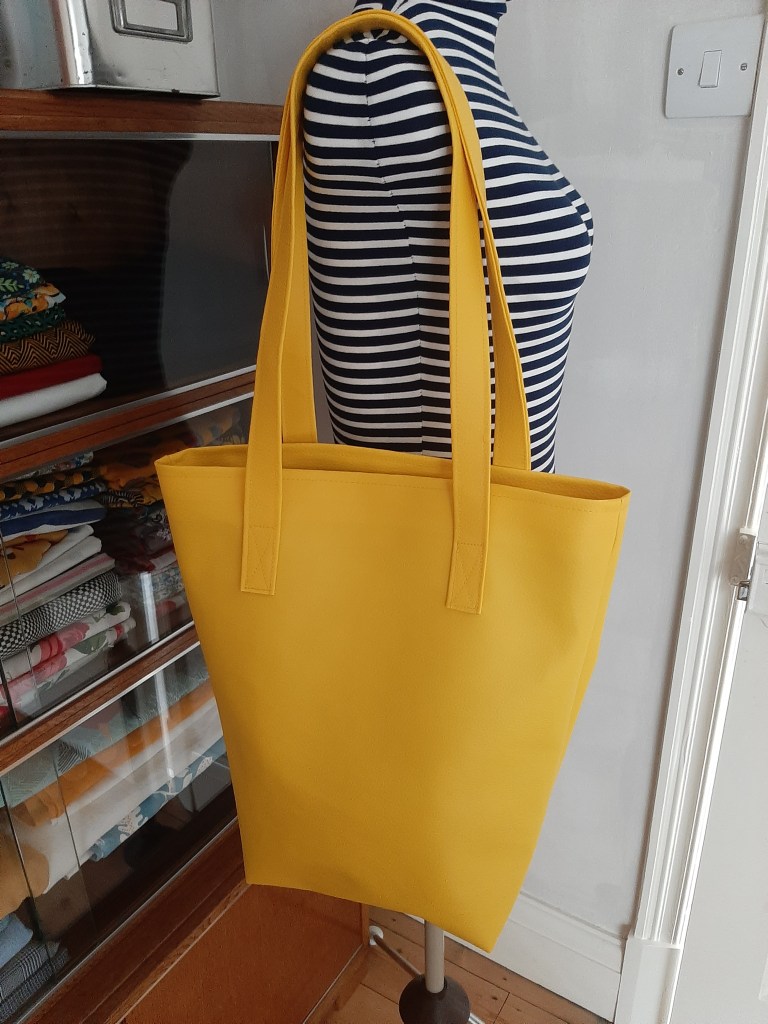
You can’t go wrong with a tote bag in my opinion. Even if it ends up being consigned to the shopping run heap, it’s a handy little gift. And, like the pencil case, it can be souped up to your heart’s desire so that it resembles less your average bogstandard tote and more your luxe shopper of dreams.
Think plush fabrics like pleather, suedette, or corduroy, with a weighty interlining, some decent metalware (zips, clasps, etc), and a few well placed pockets and dividers, and you have the makings of what we like to call a Proper Bag.
For a basic tote, cut two rectangles your preferred size plus 1cm seam allowance. Add an extra 4cm to the top. For a nice big roomy tote I usually cut about 50cm x 40cm. Now cut two straps, each approx 70cm x 10cm. Fold the straps lengthways, first in half then fold each side into the centre and fold again so you have a strap one quarter of the width of the original piece, with all raw edges enclosed. Top stitch along either side.
Stitch the bag sides and bottom RST and overlock edges together. Press the upper edge of the bag 1cm WST and then again 3cm so raw edges are enclosed. Take one strap and on one side of the bag, tuck the raw short ends under the folded seam about 10-12cm from either side. The straps will be inside the bag at this stage. Pin in place. Repeat for the other side. Now top stitch the bag all the way around through all layers, first at 0.5cm from the upper edge and then again 2.5cm below to secure the folded edge. Pull the straps up out of the bag and pin in place. Top stitch again to secure.
5. Scrunchies
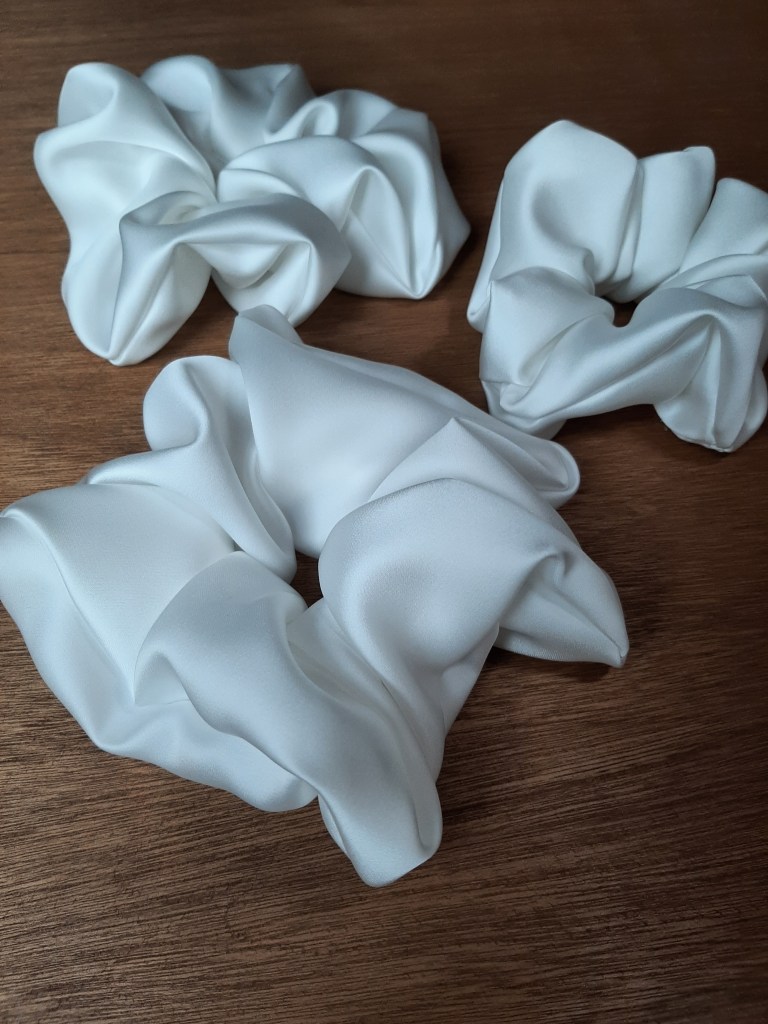
I remember the scrunchies of the 80s, and then their long winter of discontent in the intervening decades. But now they are back and they are EVERYWHERE. Not all scrunchies are made equally, however: I’ve become quite the stickler for what constitutes a scrunchie worthy of being sent out into the world.
First of all they should have enough fabric but not too much, the right thickness and length of elastic to be able to comfortably stretch out around the hand and double knot the hair while also sitting idly on the wrist without slipping off. The finish should be two machine sewn RST seams with a tiny turning gap on the side seam that is then slip stitched closed.
Once you have the technique down you can churn these out factory-style, They look great in groups of three – I like to go for two contrasting plains with a coordinating print for the third. Tie them together with ribbon and attach a little card if you have time.
To make, cut strips of fabric 4 inches x 24 inches. Stitch the long edge RST with a 1cm seam allowance in the following way: back stitch to start, 2.5cm from the end. Backstitch to finish, 2.5cm from the other end. Turn right side out and press seam. Now, take the two short edges and, ensuring the previously sewn seam is even and not twisted, place the short edges RST and stitch.
Press seam flat and turn the seam back right side out. You should have a small 3cm gap either side of the short seam. Use your wrist to measure the elastic and check there is enough to stretch around the hair. About 15cm works well.
Attach a safety pin to one end and thread through the channel. Once you’re out the other side, overlap ends and stitch to secure. Allow the elastic to snap back into the channel, pin the gap, and slip stitch together.
HOME
6. Oven gloves
If you go in for a bit of patchwork, an oven glove is a great stash buster. Use old towelling or wool fabric inside to layer up a degree of heat resistance.
I like a double mitt (get your PDF pattern for the Grinlow Studio quilted double oven glove here). But if you prefer a single mitt or maybe a pair, the Made for Mermaids mitt is a great option. I made a pair a few years ago out of denim and wool. They’re fun to put together and brilliant scrap busters for smaller remnants.

7. Aprons
Another one that can be made for adults or kids, and cater towards particular hobbies or interests. While the obvious choice would be an apron for cooking – and a really simple quick make at that – other options include heavy weight canvas versions for woodworking or printing, and fully sleeved versions in wipeable fabrics for kids painting coveralls. Up the ante with leather trims and rivets and pockets with metal hardware or ruffled trims and novelty appliques.
Aprons are easy enough to sew. At this late stage your best bet would be to trace an existing apron as a guide, adding seam allowance where required and any tweaks to the design. You can make the neck tie adjustable by using a ladder lock or buckle (similar to dungarees) or simply two ends that can be tied as per the waist ties. I love a vintage pinny and they are very easy to make, requiring a single tie that doubles as the waistband and a small rectangle of fabric to cover the upper legs. Curve the lower edges and add a ruffle and maybe a little pocket at the front and you’re ready to serve those cocktails!
8. Napkins
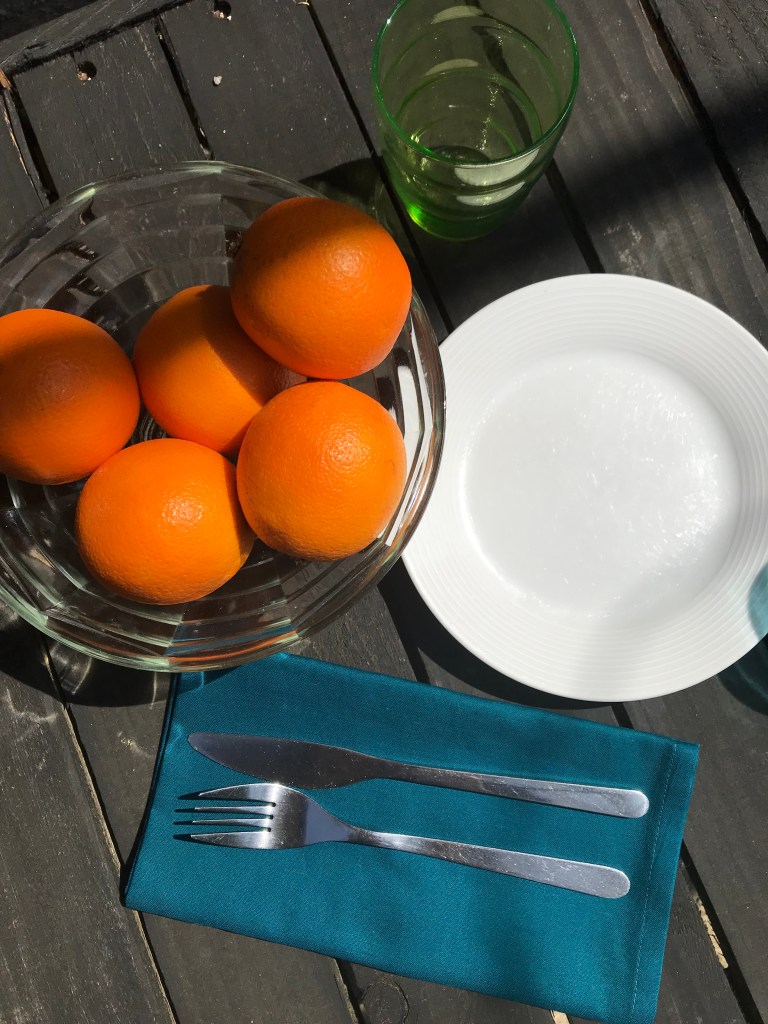
Continuing the homewares theme, a small set of napkins is a good make to have in your Christmas gifts armoury. Again, lovely in linen or broadcloth, these can be made in one fabric or a variety for a mix-n-match look. Make them with mitred corners for a higher end feel by following the Grinlow Studio tutorial here.
Check you have enough fabric before getting started – to make a good size set you need a fair amount. If you make them around 45cm square, you can squeeze six out of a single metre of 140cm wide fabric. Plain linen napkins (45cm square) from John Lewis are currently retailing at £39 for a set of four so this is a great option in my opinion!
9. Tea towels
Following on from napkins they’re the bigger, more rectangular and plainly obvious next step. You could go for a little co-ords set with the gloves, the apron and the napkins.
As with the napkins, I prefer linen or broadcloth to the terry towels which desposit a pile of fluff on everything. You could also personalise them by getting your children involved and have fun drawing their own designs on a plain cloth with fabric pens.
To make, cut out a rectangle on the grain 50 x 70cm (or thereabouts) plus 2cm seam allowance. Press the seams WST by just under 1cm then again by 1cm so the raw edges are enclosed. Fold the short ends over the long, pin, and edge stitch all the way round, backstitching to finish. If desired, make a little loop from 10cm of ribbon and insert raw ends into the folded seam at the centre of one long edge of the towel before edge stitching. Stitch again close to the fold to secure. Alternatively create mitred corners for a really neat finish by following the Grinlow Studio napkin tutorial here.
10. Cushion covers
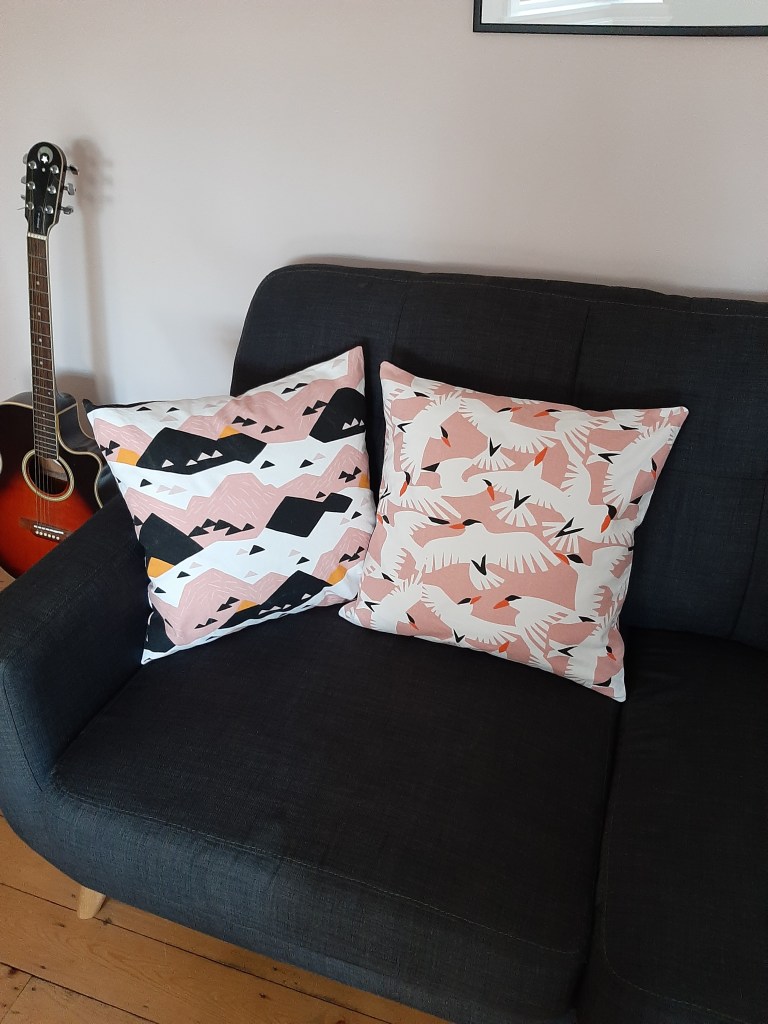
Cushions offer endless options for creative expression – ruffles, scalloping, piping, quilting. You can make the with sequins (a bit scratchy but fabulous), velvet, or plain old cotton. Fastenings can be played around with to your hearts content – or rather the contents of your stash so you don’t have to go shopping. You can go for an invisible zip at one side, a classic covered zipper (preferably at the centre back), or fold over with buttons (can gape a bit so sometimes a faux button finish is better so the seam is sewn and an invisible zipper placed elsewhere).
Again, you could go for a plain broadcloth and get your kids to do their own design with fabric pens. If you don’t have time to go shopping for the inner, consider making one with a plain cotton lining fabric cover (so you can remove the proper cover to wash if necessary and even stick the inner in the wash too). Stuff with something soft and comfy. Some fabric offcuts are perfect for this (sherpa fleece for example) or I have been known to raid an old duvet for its filling when desperate.
If you have any gifts ideas to share please let us know in the comments below – we’d love to hear about them!


